27 Dollar Store Christmas Crafts
The holidays don’t have to break the bank when you’ve got a dollar store nearby and a little creativity. These budget-friendly Christmas crafts prove that beautiful decorations and thoughtful gifts can come together for just a few dollars.
Whether you’re looking to deck out your home, create personalized presents, or spend quality time crafting with the kids, you’ll find plenty of inspiration here. Grab your hot glue gun and head to your local dollar store—it’s time to make some festive magic happen without the hefty price tag.
1. DIY Snow Globes Using Glass Jars and Miniature Figurines
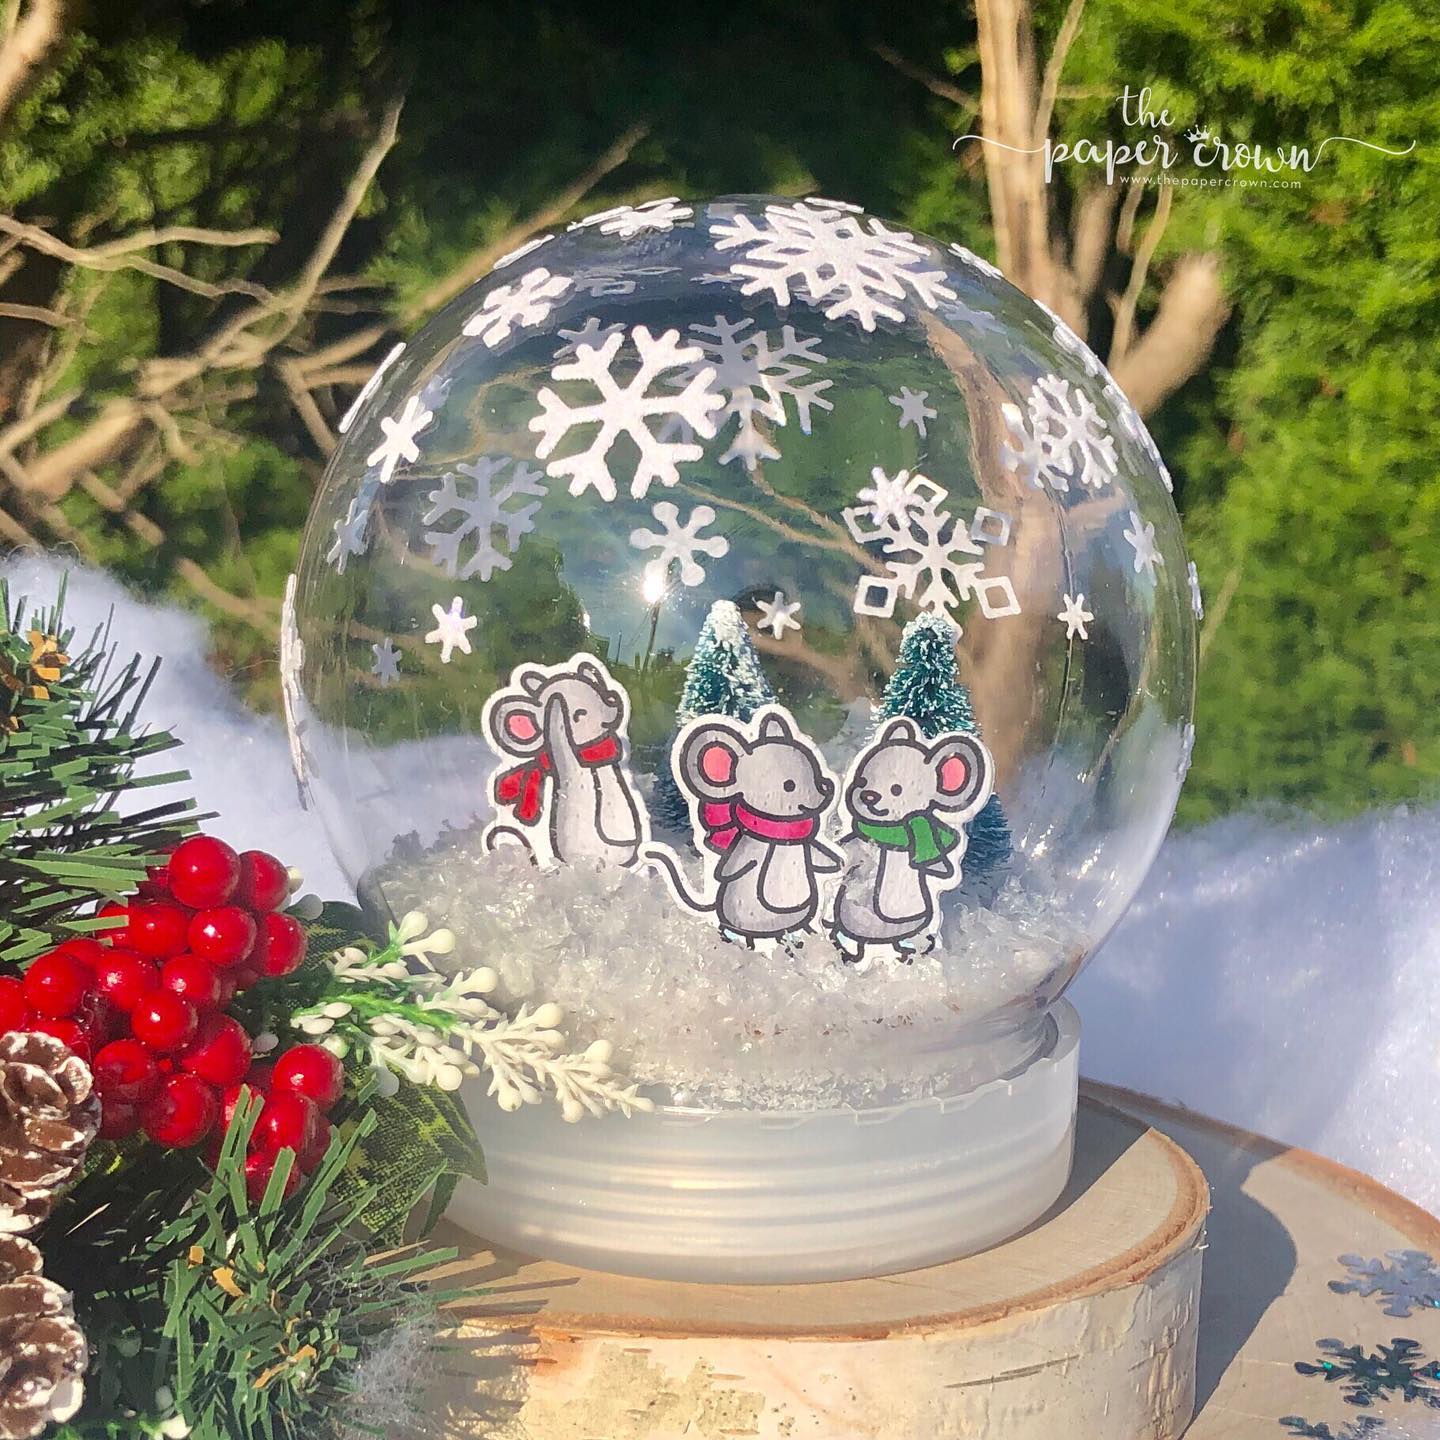
Pick up some clear glass jars with lids and small plastic figurines like reindeer, snowmen, or Christmas trees. Use a strong adhesive to attach the figurine to the inside of the lid. Fill the jar with water, add a pinch of glitter and a drop of glycerin to make the glitter float slowly.
Screw the lid on tightly (seal with hot glue if needed) and flip it over. You’ve got yourself a charming snow globe that looks way more expensive than it actually was. Kids especially love shaking these up and watching the glitter swirl around their favorite holiday characters.
2. Ornament Wreaths Made from Plastic Ball Ornaments
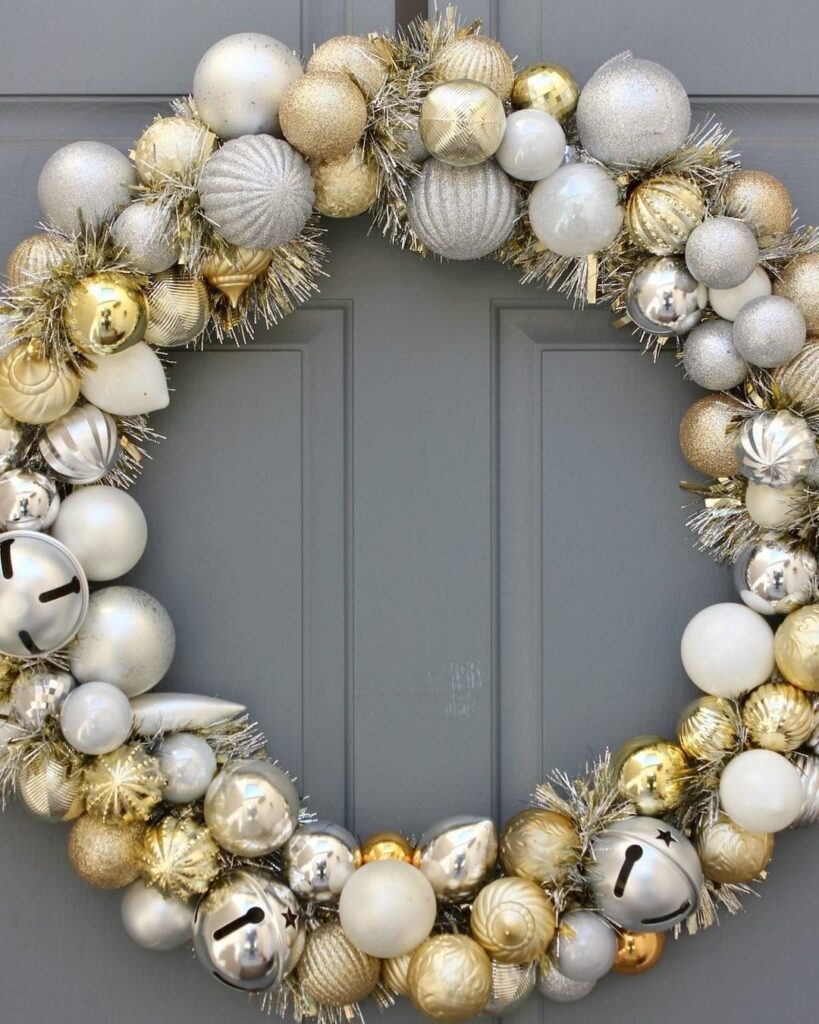
Grab a wire wreath frame and a bunch of shatterproof ball ornaments in coordinating colors. Remove the tops from the ornaments and slide them onto the frame, packing them tightly together until the entire wreath is covered.
Mix different sizes and finishes like matte, shiny, and glittered ornaments for more visual interest. Once you’ve filled every gap, add a festive bow at the bottom or top. This wreath looks incredibly full and fancy hanging on your front door, and guests will never guess it cost less than ten bucks to make.
3. Christmas Centerpieces with Candles and Decorative Fillers
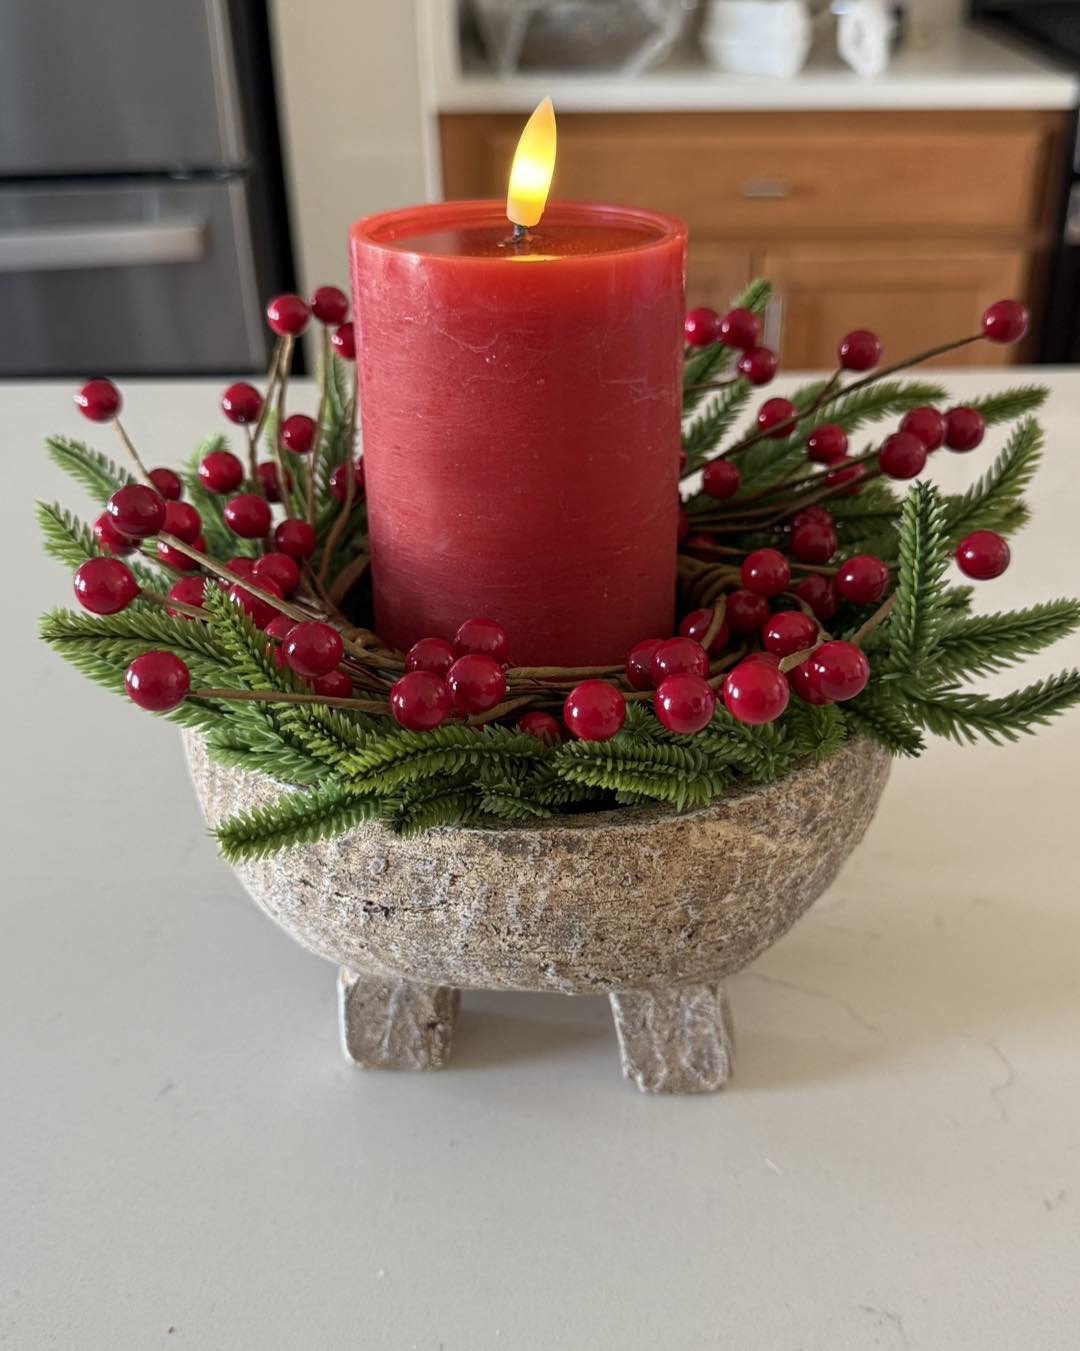
Start with a glass vase, bowl, or hurricane candle holder from the dollar store. Fill the bottom with decorative fillers like fake snow, ornament balls, pinecones, cranberries, or even colorful beads. Place a pillar candle in the center or surround tea lights around the edge.
You can layer different materials for depth—try cranberries at the bottom with Epsom salt “snow” on top. Add some greenery sprigs or cinnamon sticks tucked around the sides. These centerpieces look elegant on your dining table and you can customize them to match your holiday color scheme perfectly.
4. Mason Jar Luminaries with Tissue Paper or Paint
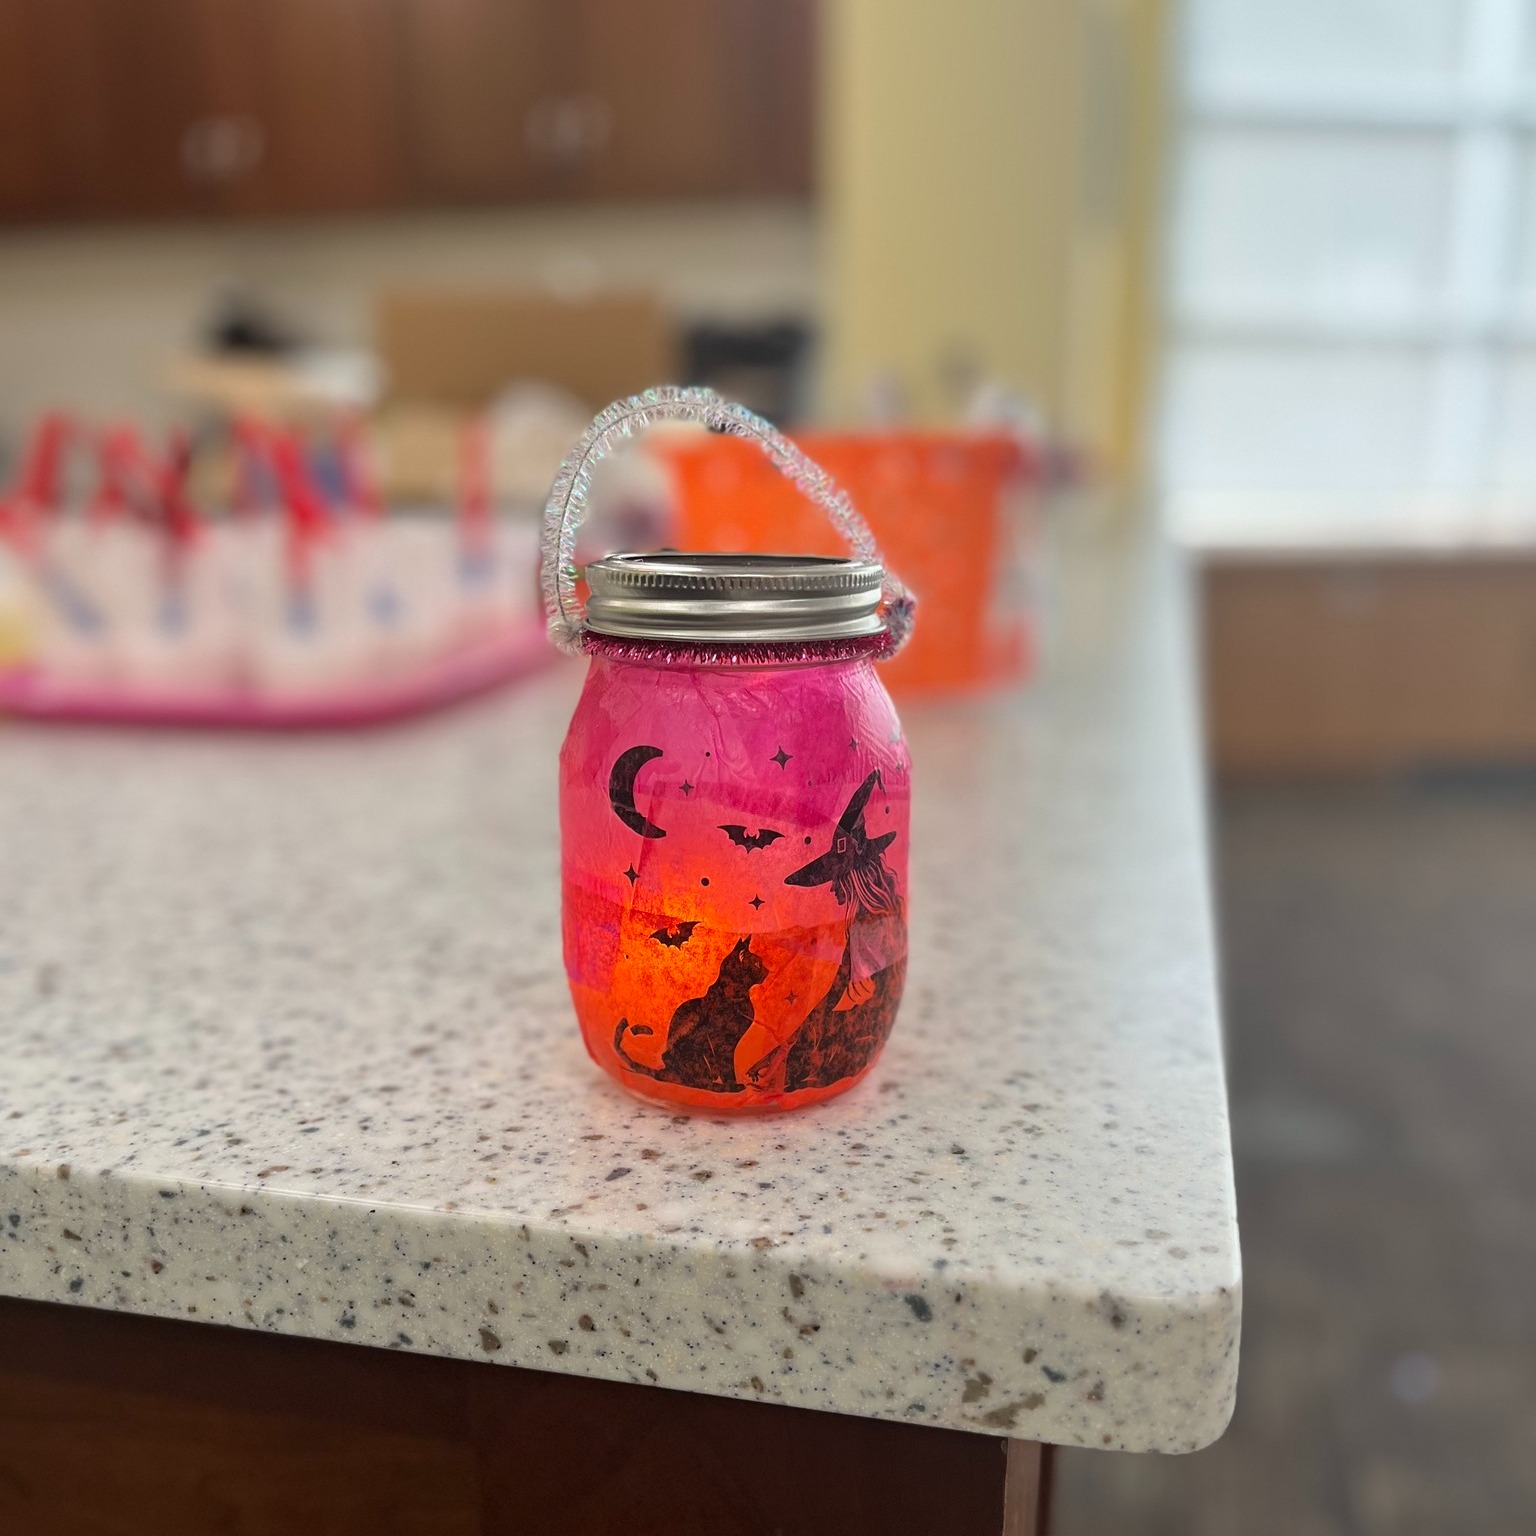
Get some clear mason jars or any glass jars and either tissue paper or glass paint. For tissue paper luminaries, use Mod Podge to adhere torn pieces of colored tissue paper all over the outside of the jar in a mosaic pattern. For painted versions, use glass paint or acrylic paint to create designs like snowflakes, trees, or just festive stripes.
Once dry, drop a battery-operated tea light inside. The light glows softly through the tissue paper or paint, creating a cozy ambiance. Line several of these along your mantel or staircase for a warm holiday glow.
5. Candy Cane Reindeer Using Pipe Cleaners
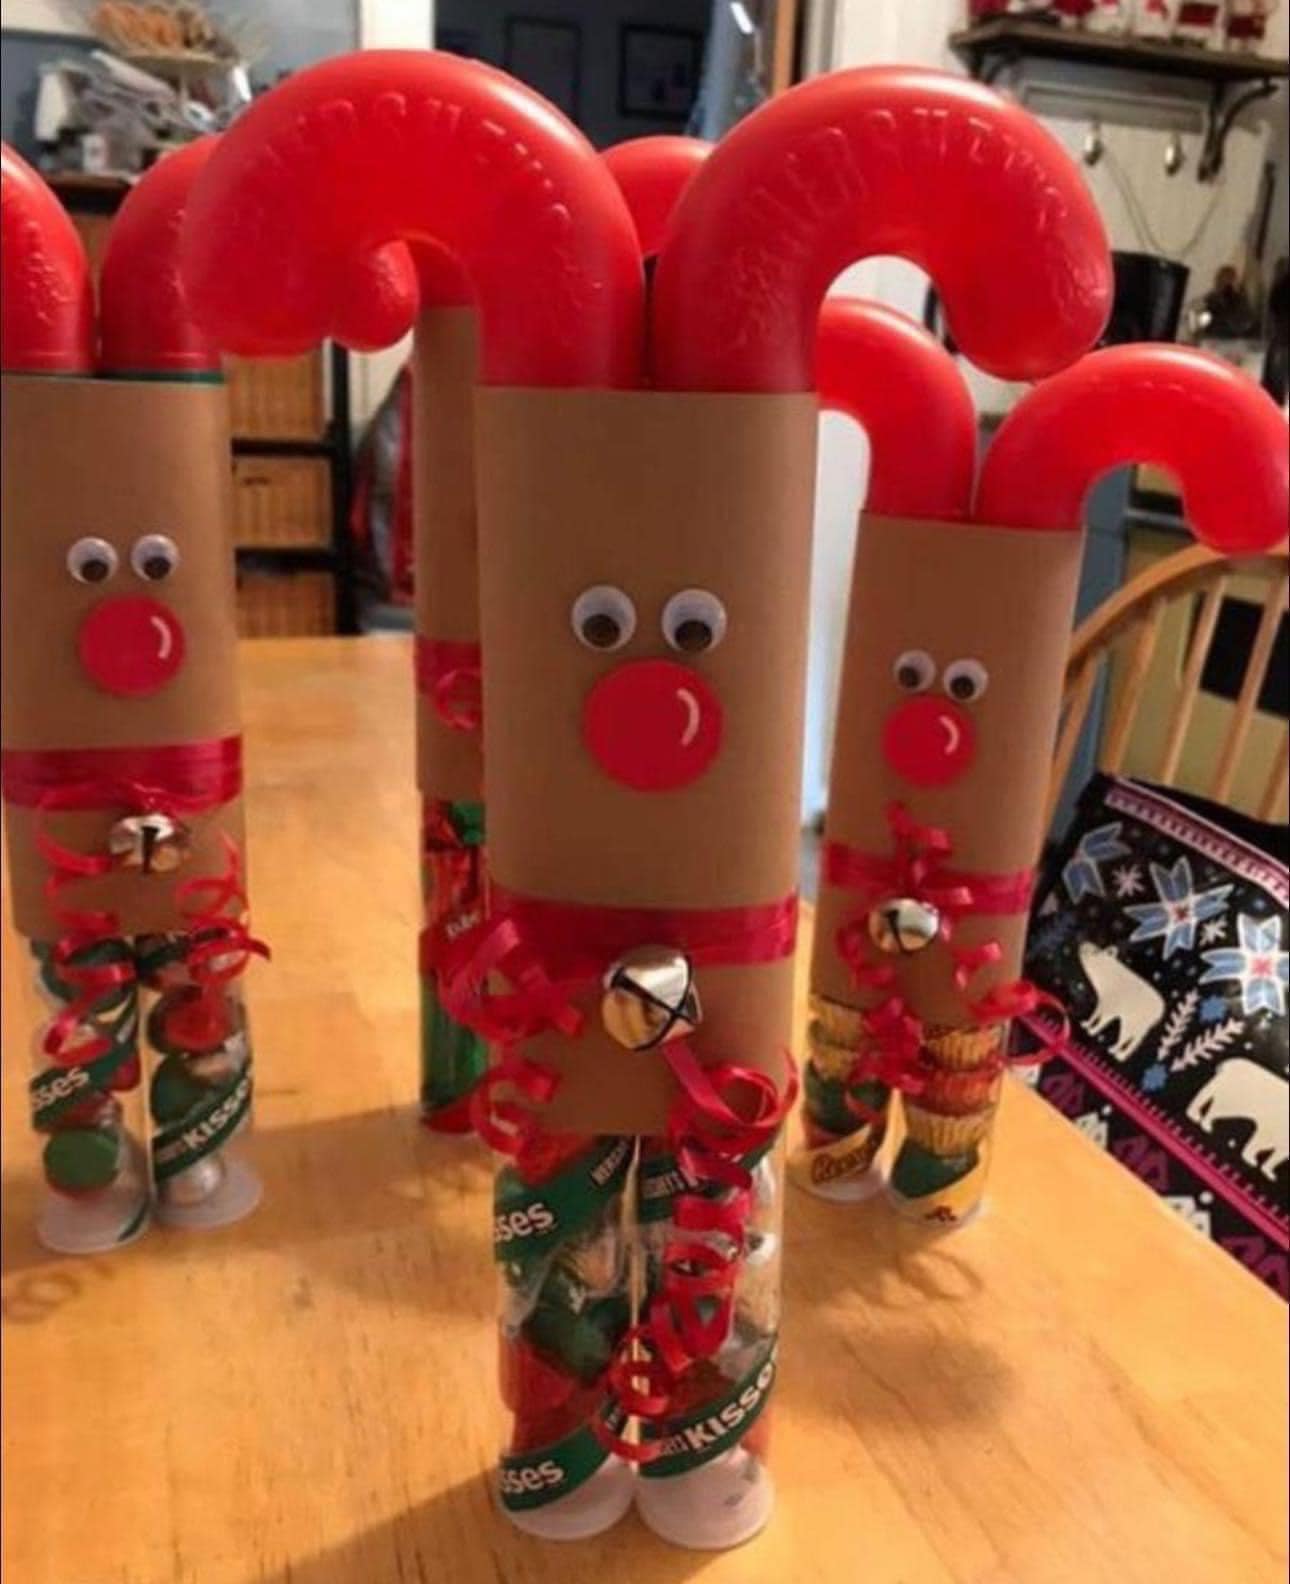
This one’s perfect for kids to help with. Take regular candy canes and twist brown pipe cleaners around the curved part to create antlers. Glue on googly eyes just below the antlers and add a small red pom-pom for Rudolph’s nose.
You can also tie a small ribbon around the neck like a scarf. These make adorable package toppers, tree ornaments, or party favors. They’re sweet little gifts for classmates or coworkers, and everyone gets to eat the candy cane afterward. Super simple but totally cute, and they take just minutes to put together.
7. Wine Glass Candle Holders Flipped Upside Down
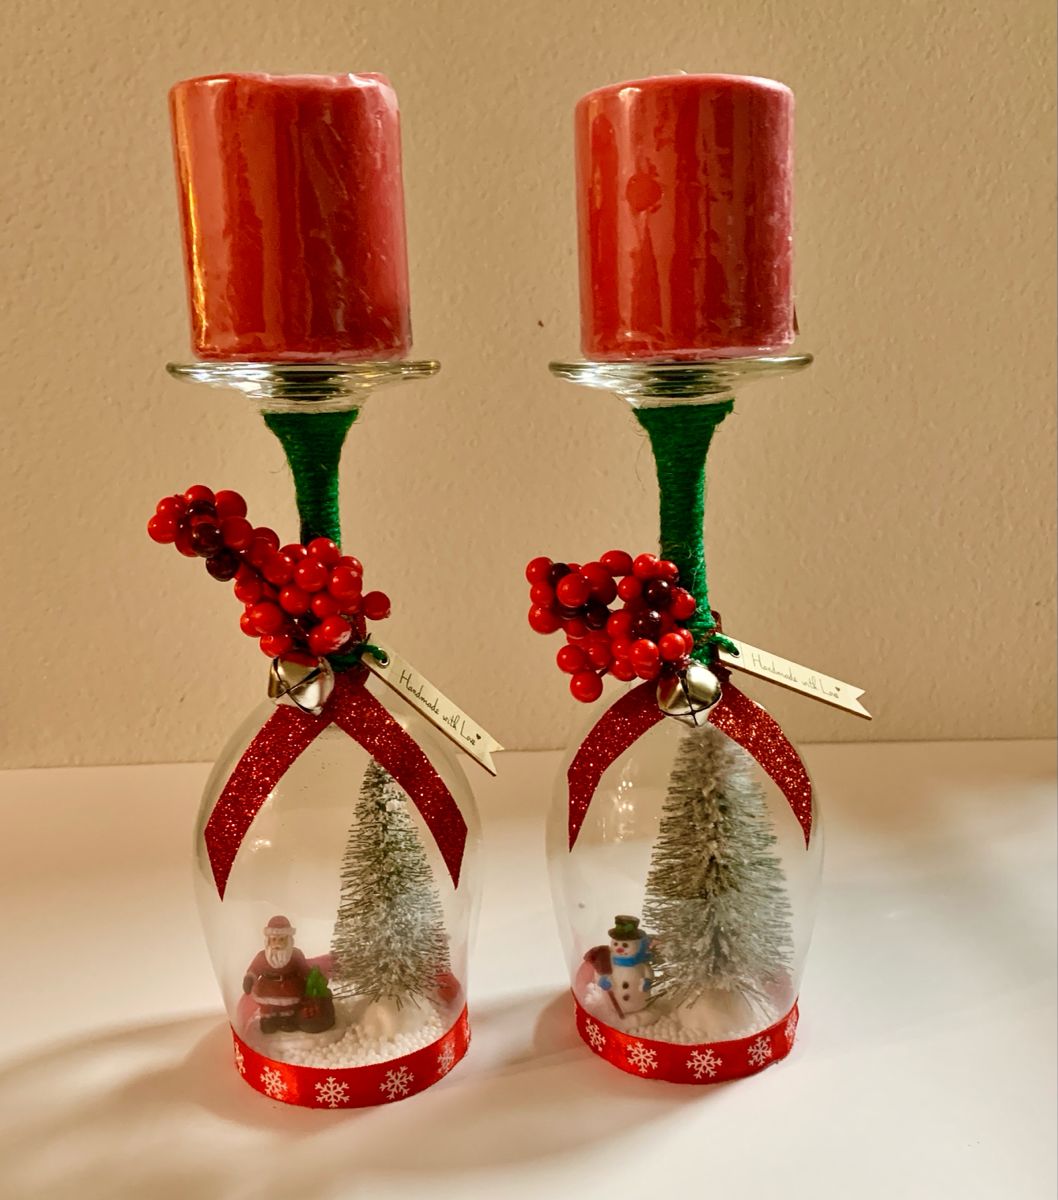
Pick up some inexpensive wine glasses and flip them upside down. Place a small ornament, figurine, or holiday decoration under the glass so it sits on the stem like a little display case. Then put a tea light or votive candle on top of the base.
You can also fill the bowl (now on the bottom) with fake snow, tinsel, or small ornaments. These look especially pretty as a table setting at each place or lined up down the center of your dining table. They’re elegant, sparkly, and give your table a festive glow.
8. Pom-Pom Garland in Festive Colors
Head to the craft aisle and grab bags of pom-poms in Christmas colors like red, green, white, and gold. Thread a large needle with fishing line, embroidery floss, or thin ribbon and string the pom-poms on one by one. You can alternate colors or create a pattern. Make your garland as long as you need for your mantel, tree, or staircase.
This fluffy, colorful garland adds a playful touch to your decorations and looks great draped anywhere. It’s also a relaxing craft to do while watching holiday movies.
9. Christmas Tree Made from Stacked Wire Wreaths
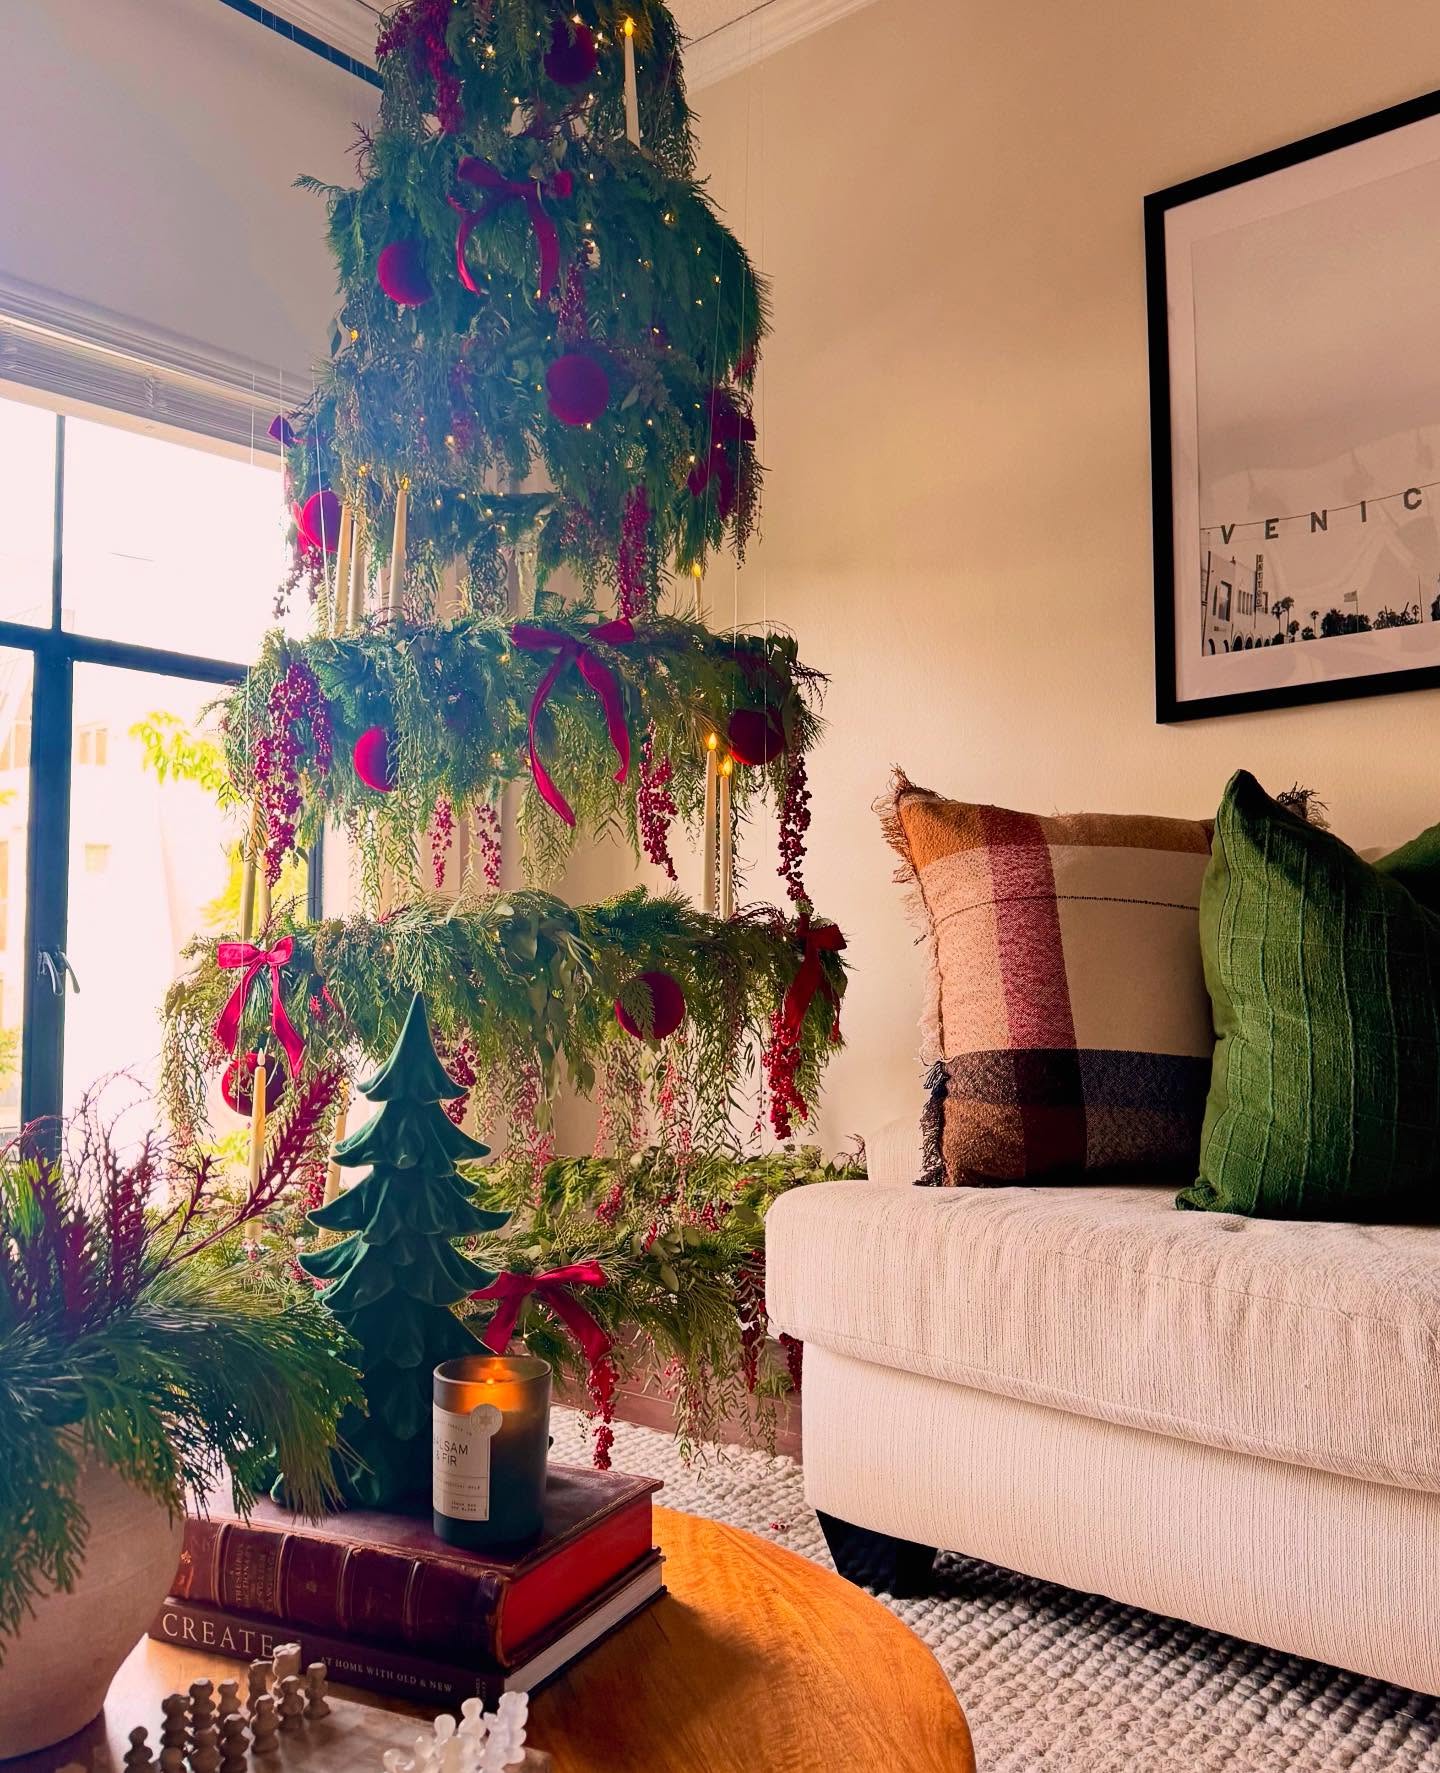
Buy three or four wire wreath frames in graduating sizes and stack them from largest to smallest, securing them together with wire or zip ties. Cover the frames with greenery garland wrapped tightly around each tier. Decorate with ribbon, small ornaments, lights, and a topper.
This creates a unique tabletop or porch tree that’s sturdy and eye-catching. You can go traditional with classic colors or make it funky with unexpected decorations. It’s a creative alternative to a regular tree and holds up well outdoors too.
10. Painted Pinecone Ornaments with Glitter
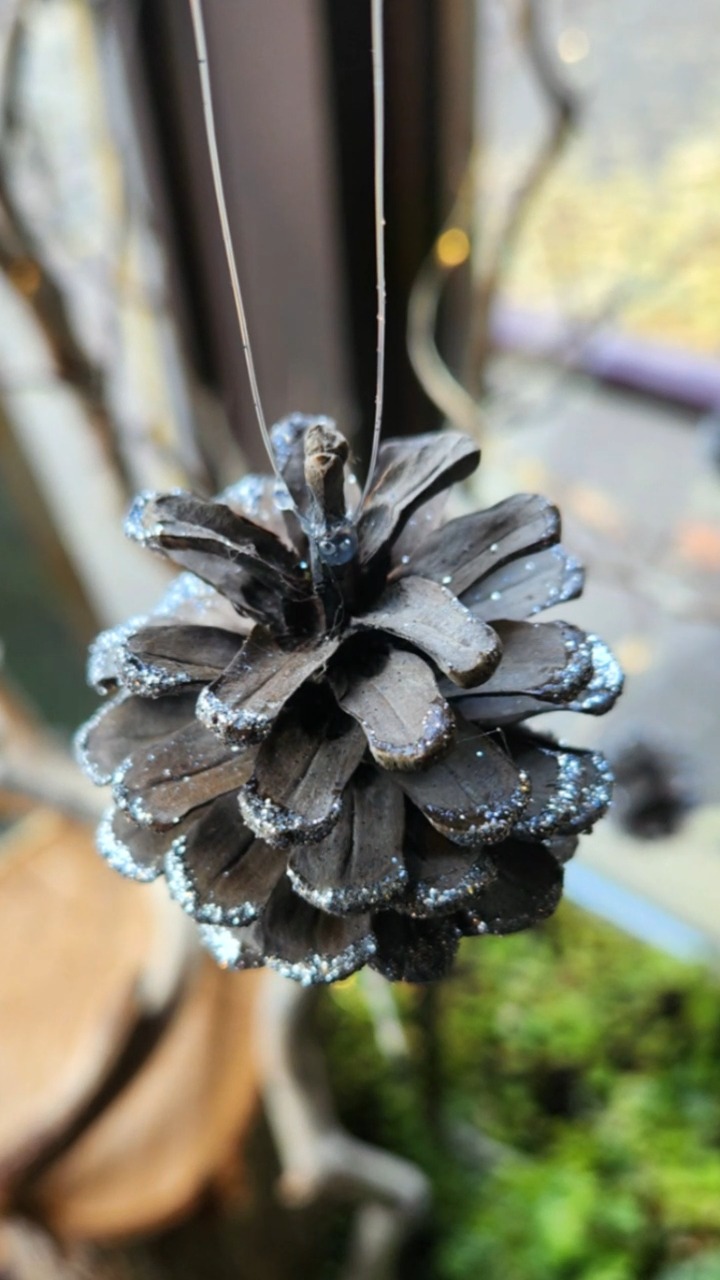
Collect pinecones from outside or buy a bag at the dollar store. Paint the tips with white, silver, or gold acrylic paint to look like snow-dusted tips. While the paint’s still wet, sprinkle glitter over the painted areas. Once dry, tie a ribbon or string through the top to hang them.
You can also spray paint entire pinecones in metallic colors for a different look. These rustic ornaments bring a natural, woodsy feel to your tree and cost practically pennies. They also make great package decorations or bowl fillers.
11. Candy-Filled Clear Ornaments
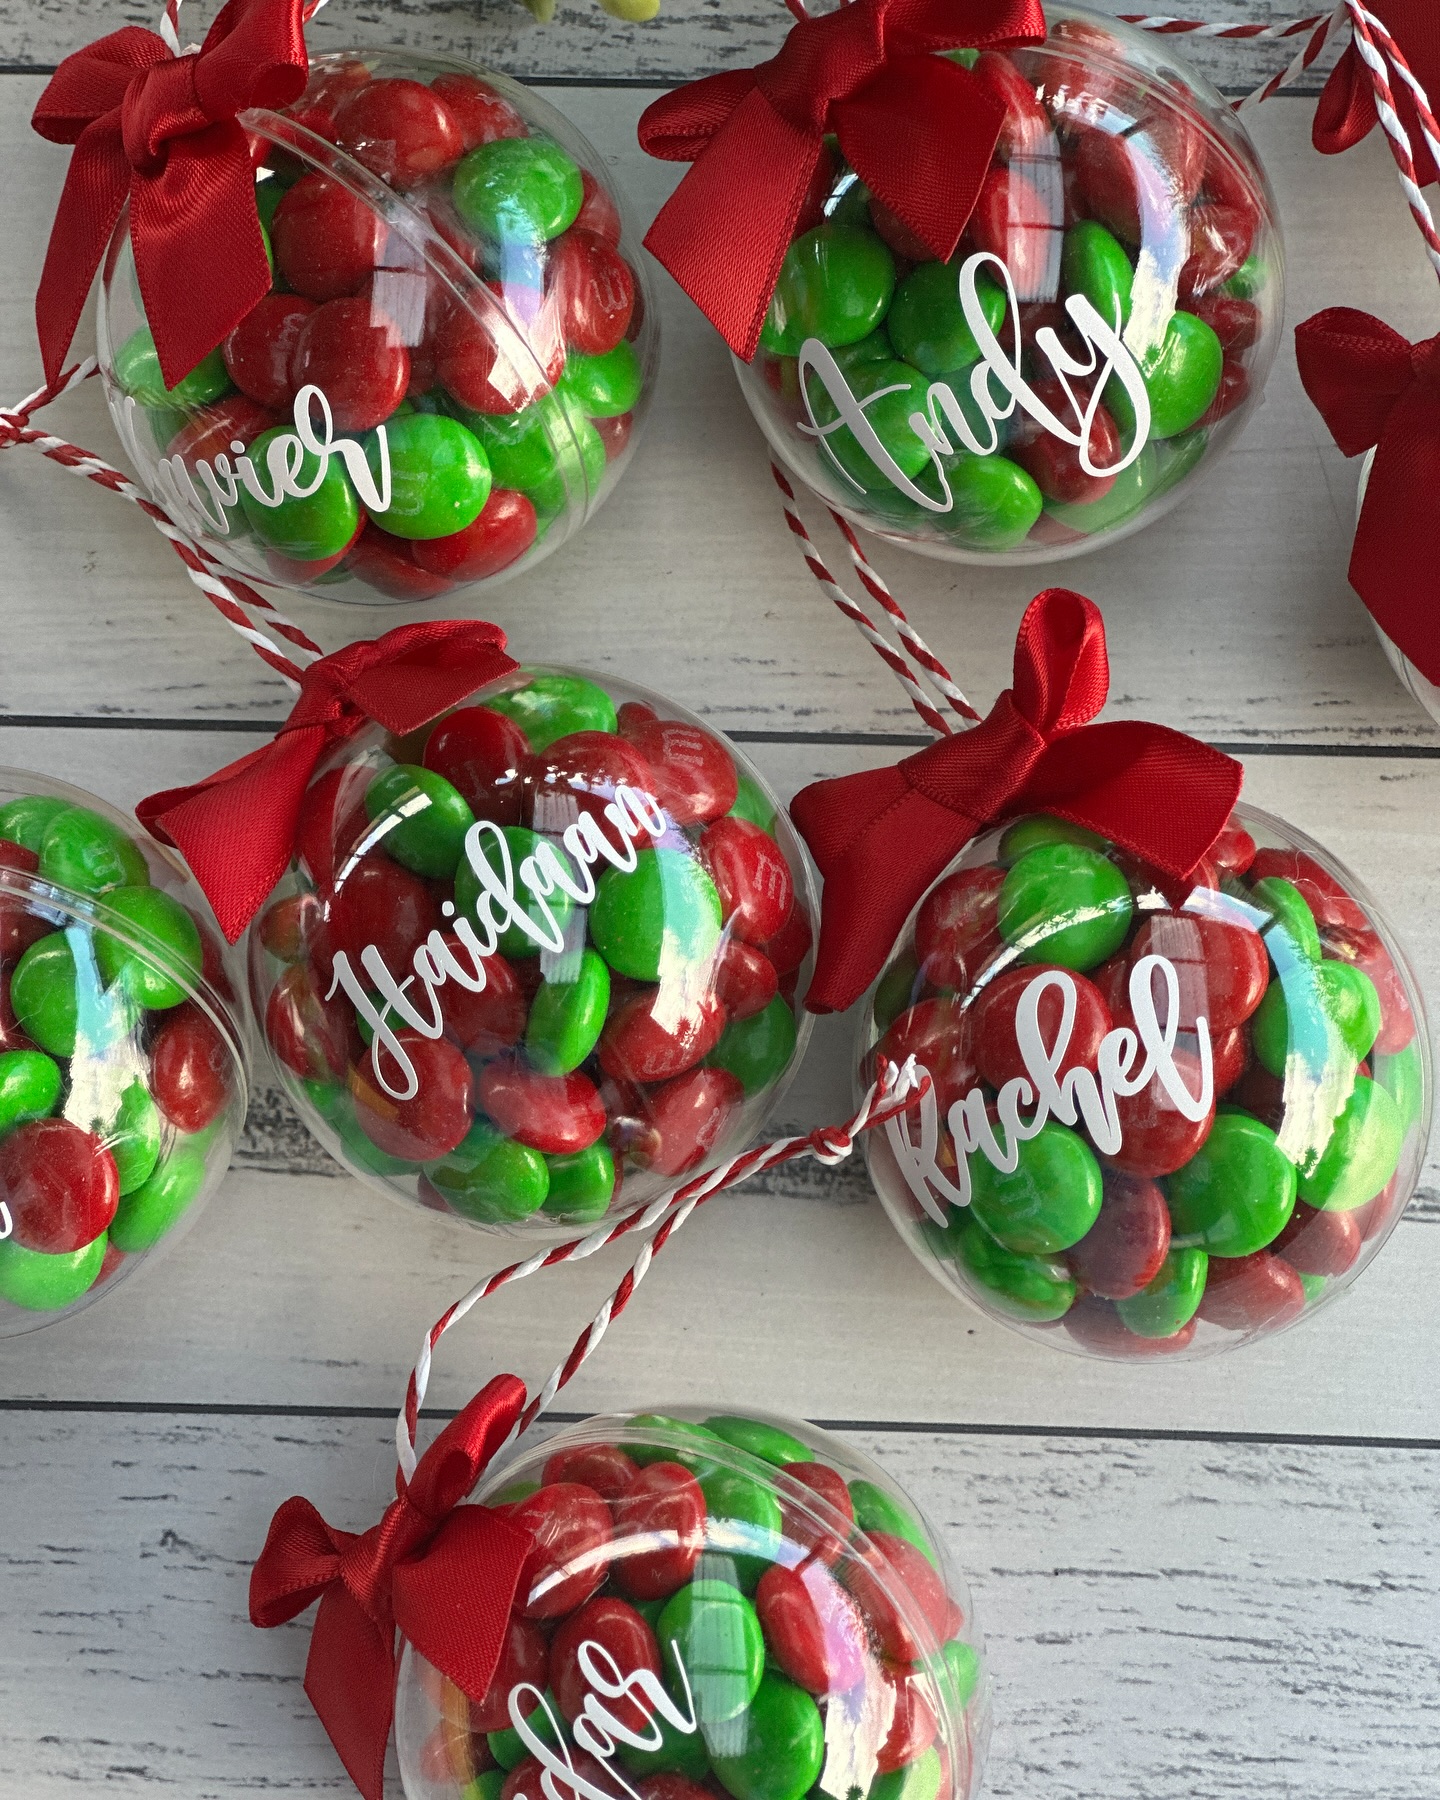
Purchase clear plastic ornament balls that pull apart. Fill them with small candies like M&Ms, Hershey Kisses, or peppermints. You can also add other things like hot cocoa mix, bath salts, or small toys. Reattach the top and add a ribbon for hanging.
Write the recipient’s name on the ornament with a paint pen or tie on a gift tag. These make awesome gifts for teachers, neighbors, or party favors. People love getting an ornament they can actually use, and kids especially enjoy the surprise of candy inside.
12. Dollar Store Tray Decorated as Santa’s Cookie Plate
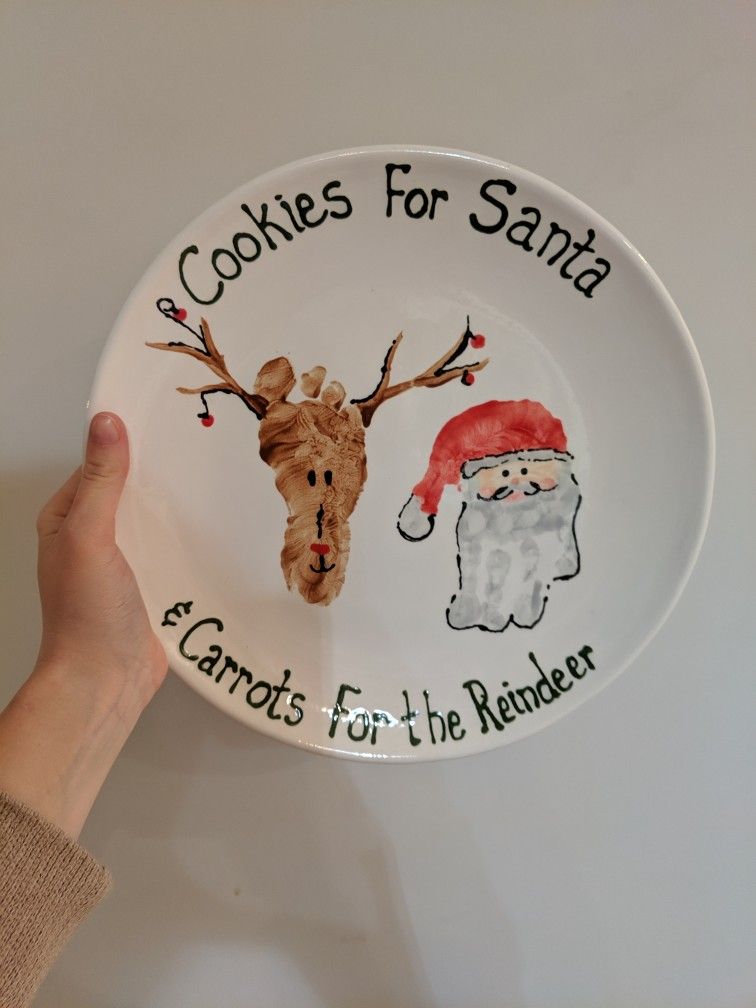
Find a plain serving tray or platter and decorate it to say “Cookies for Santa” or “Santa’s Treats.” Use vinyl letters, paint pens, or even print out letters and Mod Podge them on. Add festive designs like snowflakes, holly, or reindeer around the edges.
Seal everything with a clear acrylic sealer so it’s food-safe. On Christmas Eve, use this special plate to leave out cookies and milk for Santa. It becomes a cherished tradition piece you’ll bring out year after year, and it’s way more special than a regular plate.
13. Wooden Spoon Reindeer Ornaments

Grab wooden spoons from the kitchen section and paint them brown. Once dry, glue on googly eyes, a red pom-pom nose, and use pipe cleaners or twigs for antlers stuck into holes drilled at the top (or just glued on).
Add a ribbon tied around the handle like a scarf. Write names on the spoons to personalize them as ornaments or package tags. These are adorable and have that handmade charm that people love. Kids can help make these for their friends or grandparents, making them extra special.
14. DIY Advent Calendar Using Small Boxes or Bags
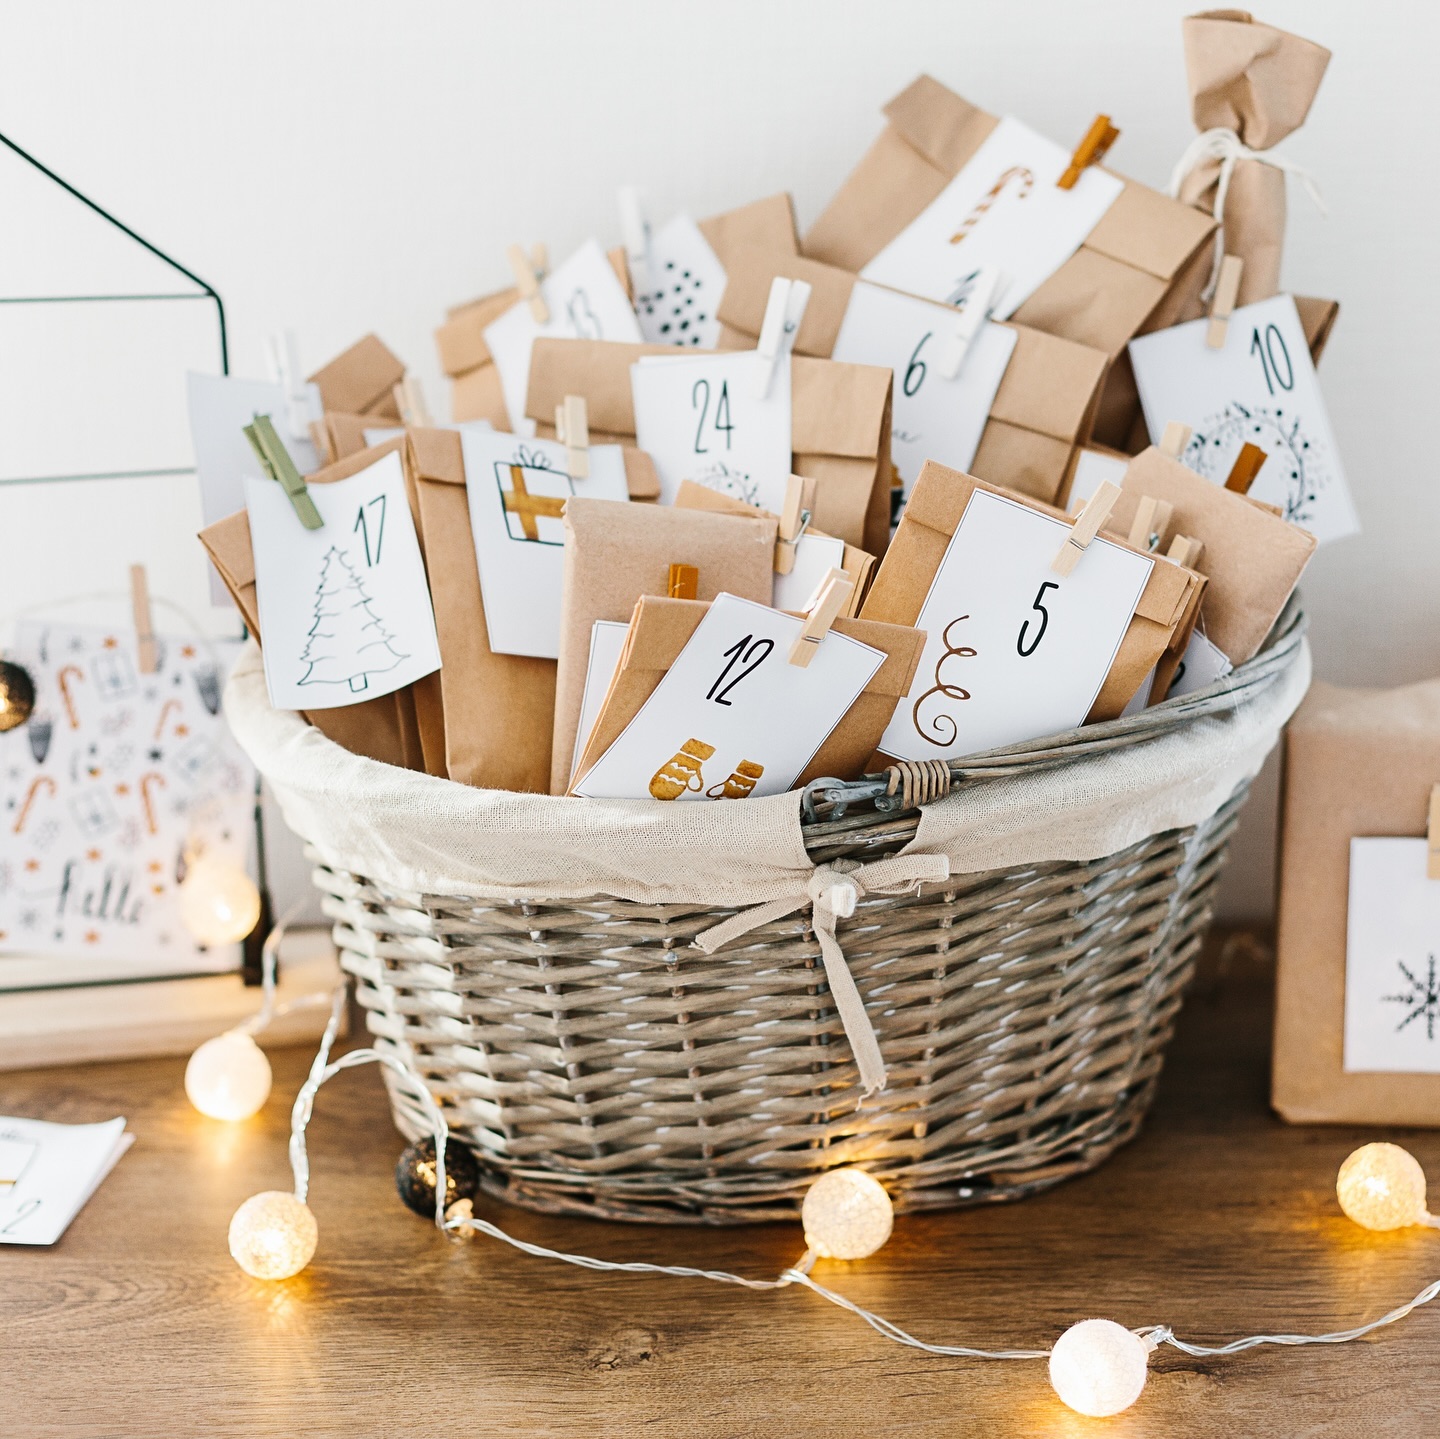
Purchase 25 small gift boxes, paper bags, or envelopes. Number them 1 through 25 with markers or stickers. Fill each with a small treat, toy, note, or activity idea. Arrange them on a poster board, hang them on a string with clothespins, or display them in a decorative basket.
This countdown to Christmas builds excitement every day of December. You can tailor the contents to your family’s interests—some people include Bible verses, acts of kindness, or holiday activities instead of just candy.
15. Christmas Topiary Trees Using Foam Cones or Ornaments
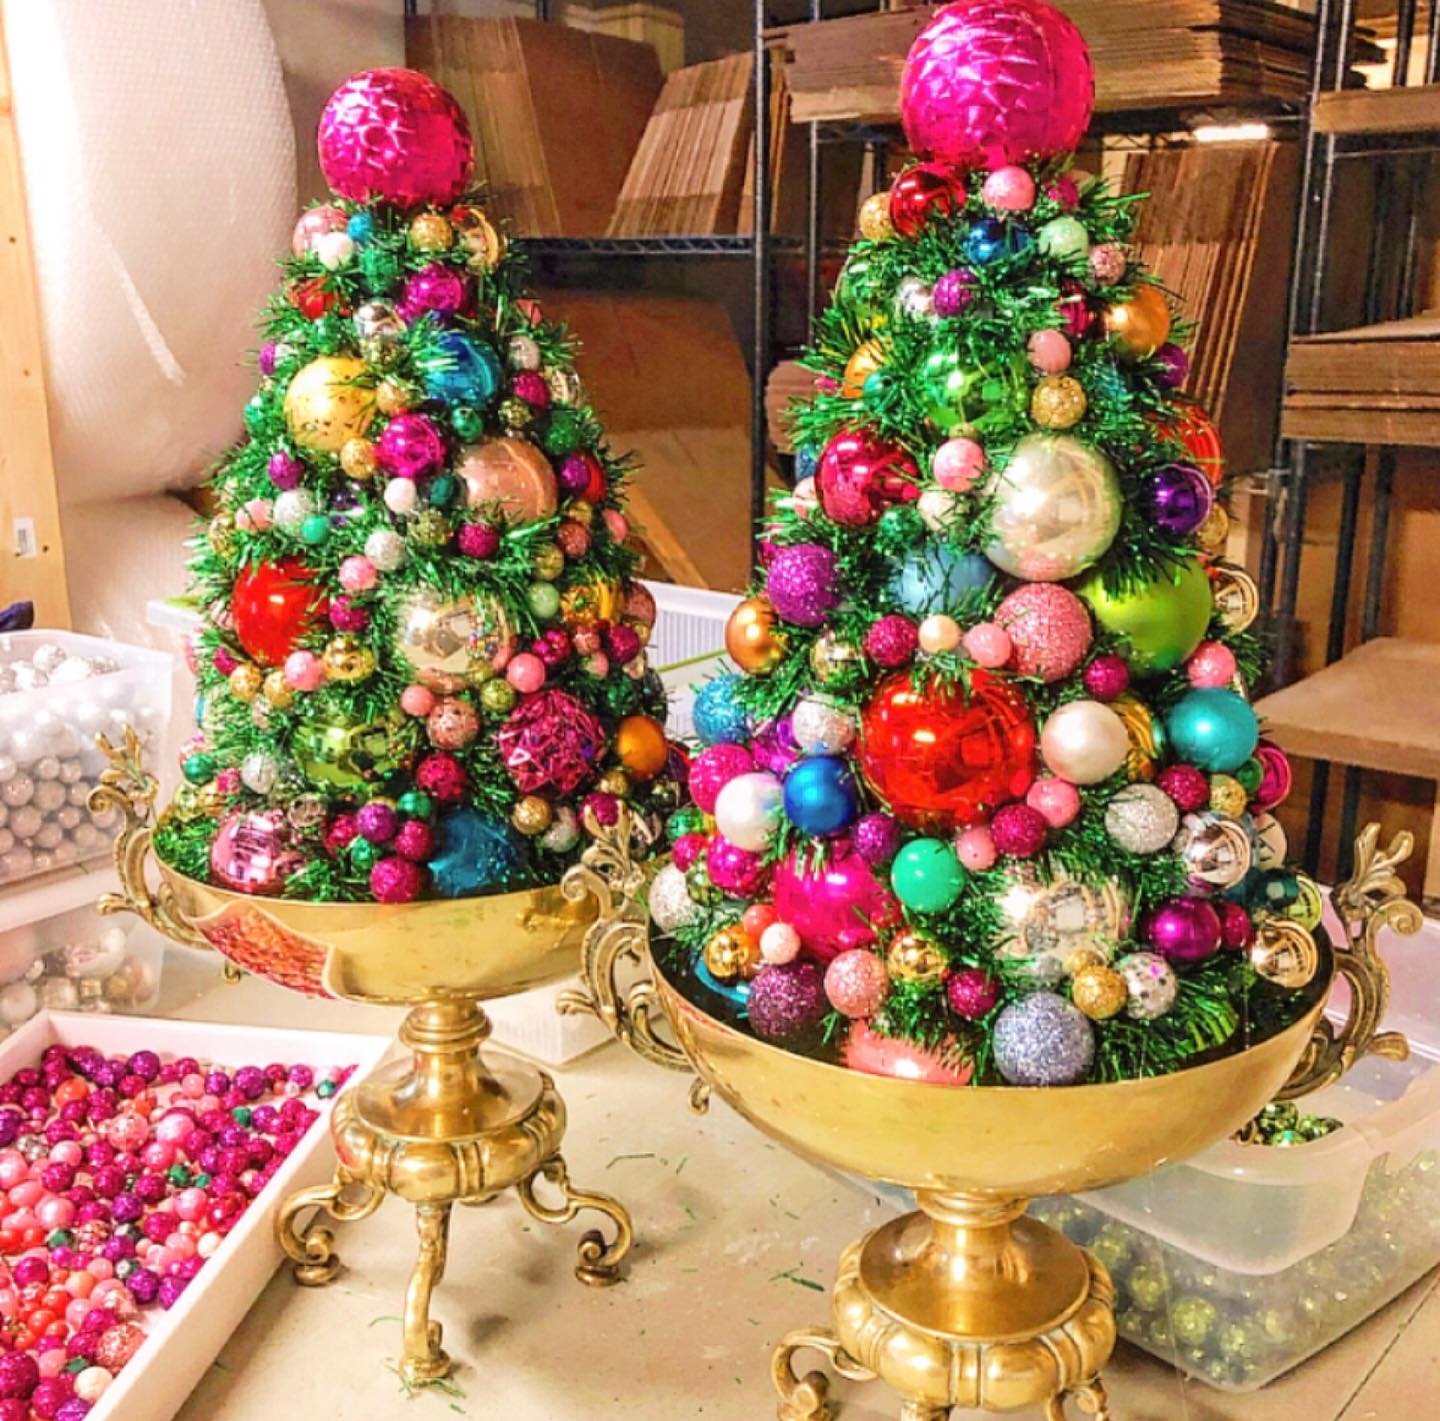
Buy foam cones in various sizes and cover them with small ornaments using hot glue or straight pins. Start at the bottom and work your way up in rows, overlapping slightly. Use ornaments in one color for an elegant look or mix colors for something more playful.
Place the finished tree in a small pot filled with floral foam and cover the base with moss or fake snow. These topiary trees look gorgeous on mantels, side tables, or as a dining table centerpiece.
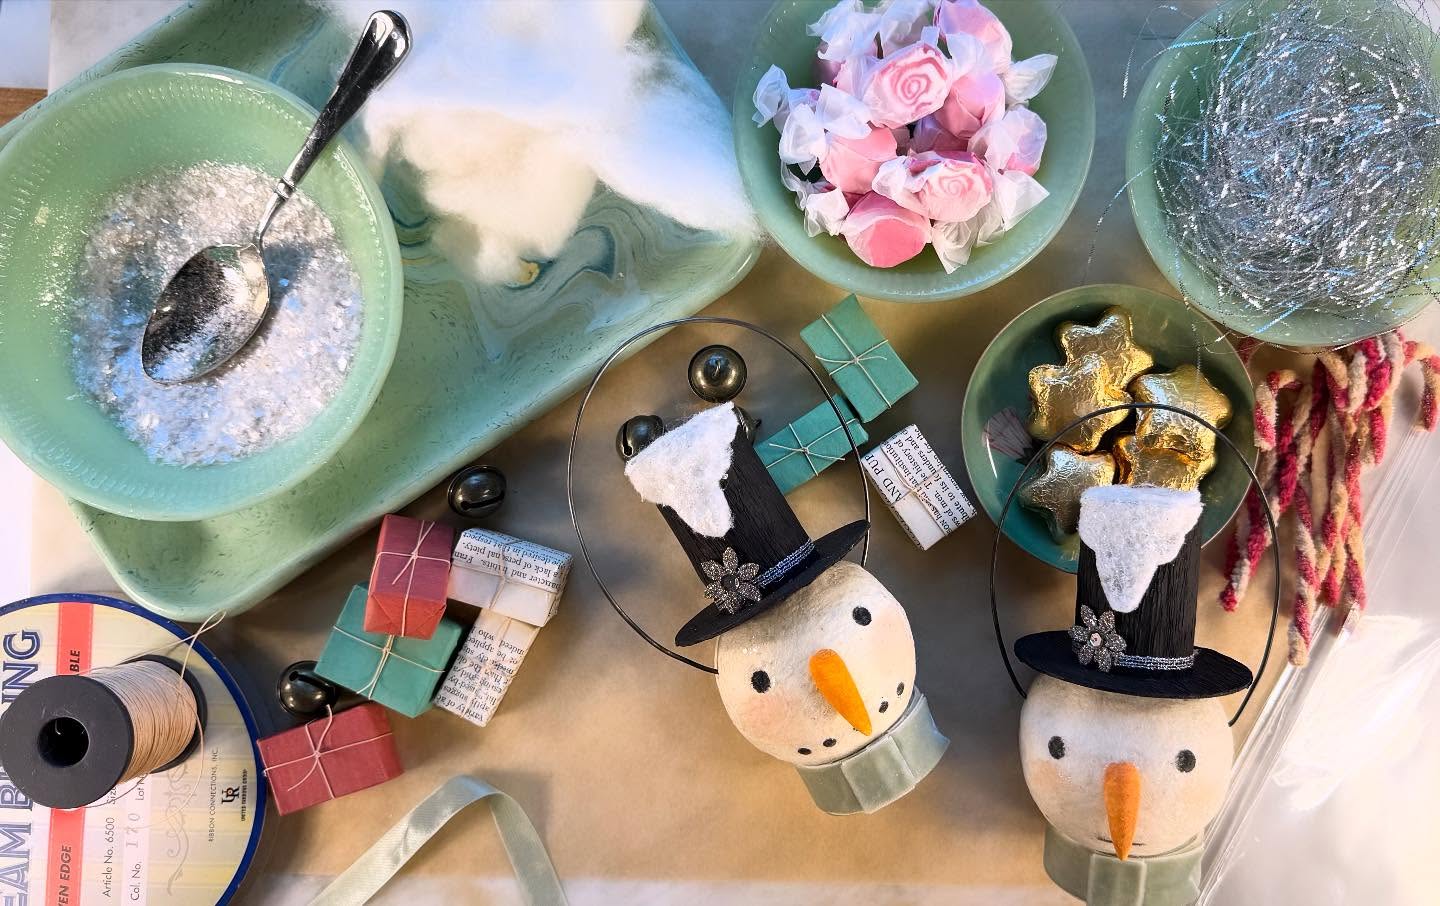
16. Festive Tiered Tray Display with Mini Decorations

A three-tiered tray from the dollar store becomes the perfect stage for mini Christmas decorations. Fill it with bottle brush trees, small ornaments, tiny wrapped presents, miniature houses, fake snow, and figurines. Switch up the arrangement based on your style—farmhouse, traditional, or modern.
The vertical display saves counter space while showing off lots of little treasures. You can change out the decorations throughout the season or keep the same cozy scene. It’s like having a tiny Christmas world right on your kitchen counter.
17. Hot Cocoa Gift Jars or Ornaments with Marshmallows and Toppings
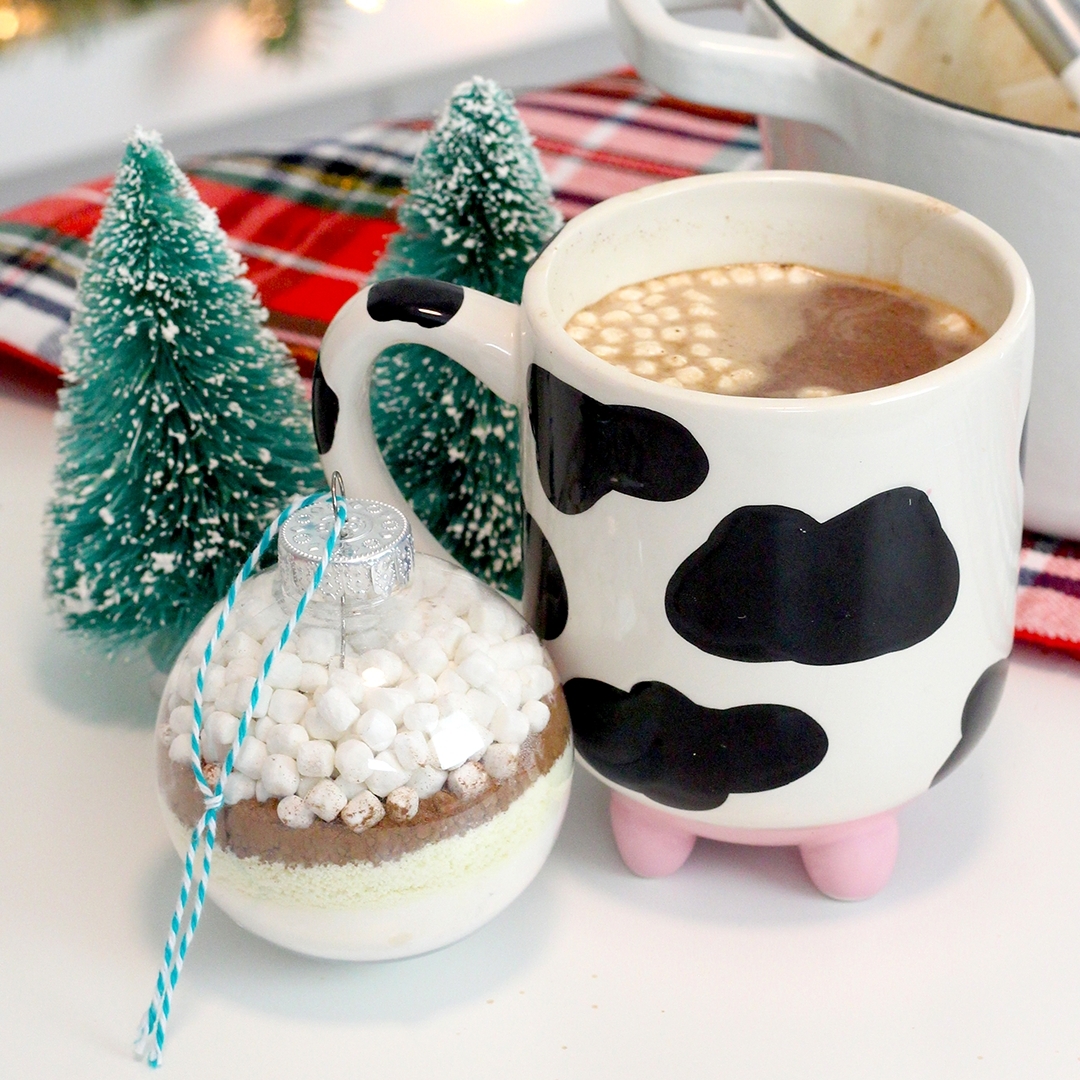
Layer hot cocoa mix, mini marshmallows, chocolate chips, and crushed candy canes in a clear jar or ornament. Make sure each layer is visible and pretty. Attach a tag with instructions: empty contents into a mug, add hot water or milk, and stir.
Decorate the jar lid with fabric, ribbon, or a small ornament glued on top. These jars make perfect gifts for teachers, coworkers, mail carriers, or anyone who deserves a warm treat. They look homemade and thoughtful but come together in minutes with dollar store supplies.
18. Snowman Soup Jars with Candy and Tags
Fill small jars with hot cocoa mix, mini marshmallows, and a candy cane or chocolate stirrer. Print or write tags that say “Snowman Soup” with a cute poem like “Was told you’ve been naughty, so here’s the scoop, I’m sending you a bowl of Snowman Soup!”
Tie the tag around the jar with ribbon or twine. Add a small jingle bell or snowman button for extra charm. These are hit gifts at holiday parties and make people smile. The clever name and presentation make simple ingredients feel really special.
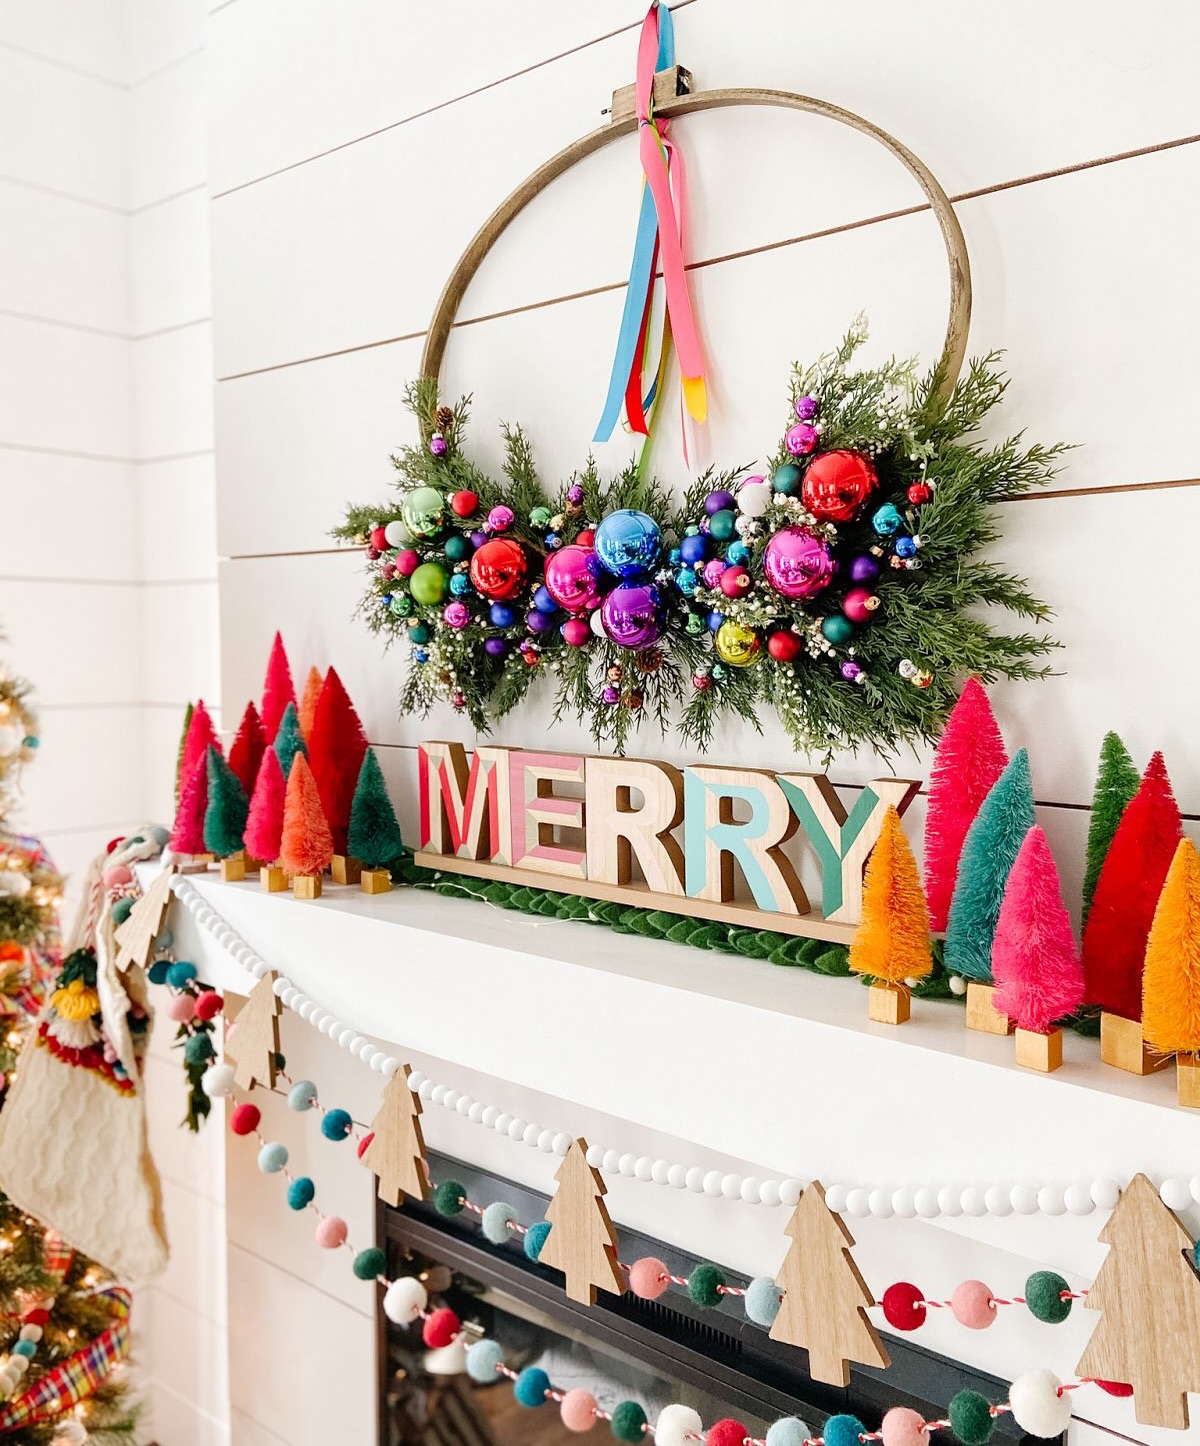
19. Glittered Letter Blocks Spelling Holiday Words

Find wooden or cardboard letter blocks at the dollar store and paint them in holiday colors. Once dry, brush on Mod Podge and sprinkle generously with glitter. Shake off the excess and let them dry completely. Spell out words like “JOY,” “NOEL,” “MERRY,” or “BELIEVE.”
Display them on your mantel, bookshelf, or entryway table. You can also make them reversible with different words for different holidays. These sparkly letters add personality to your decor and announce your holiday spirit to anyone who walks in.
20. Christmas-Themed Terracotta Pot Crafts
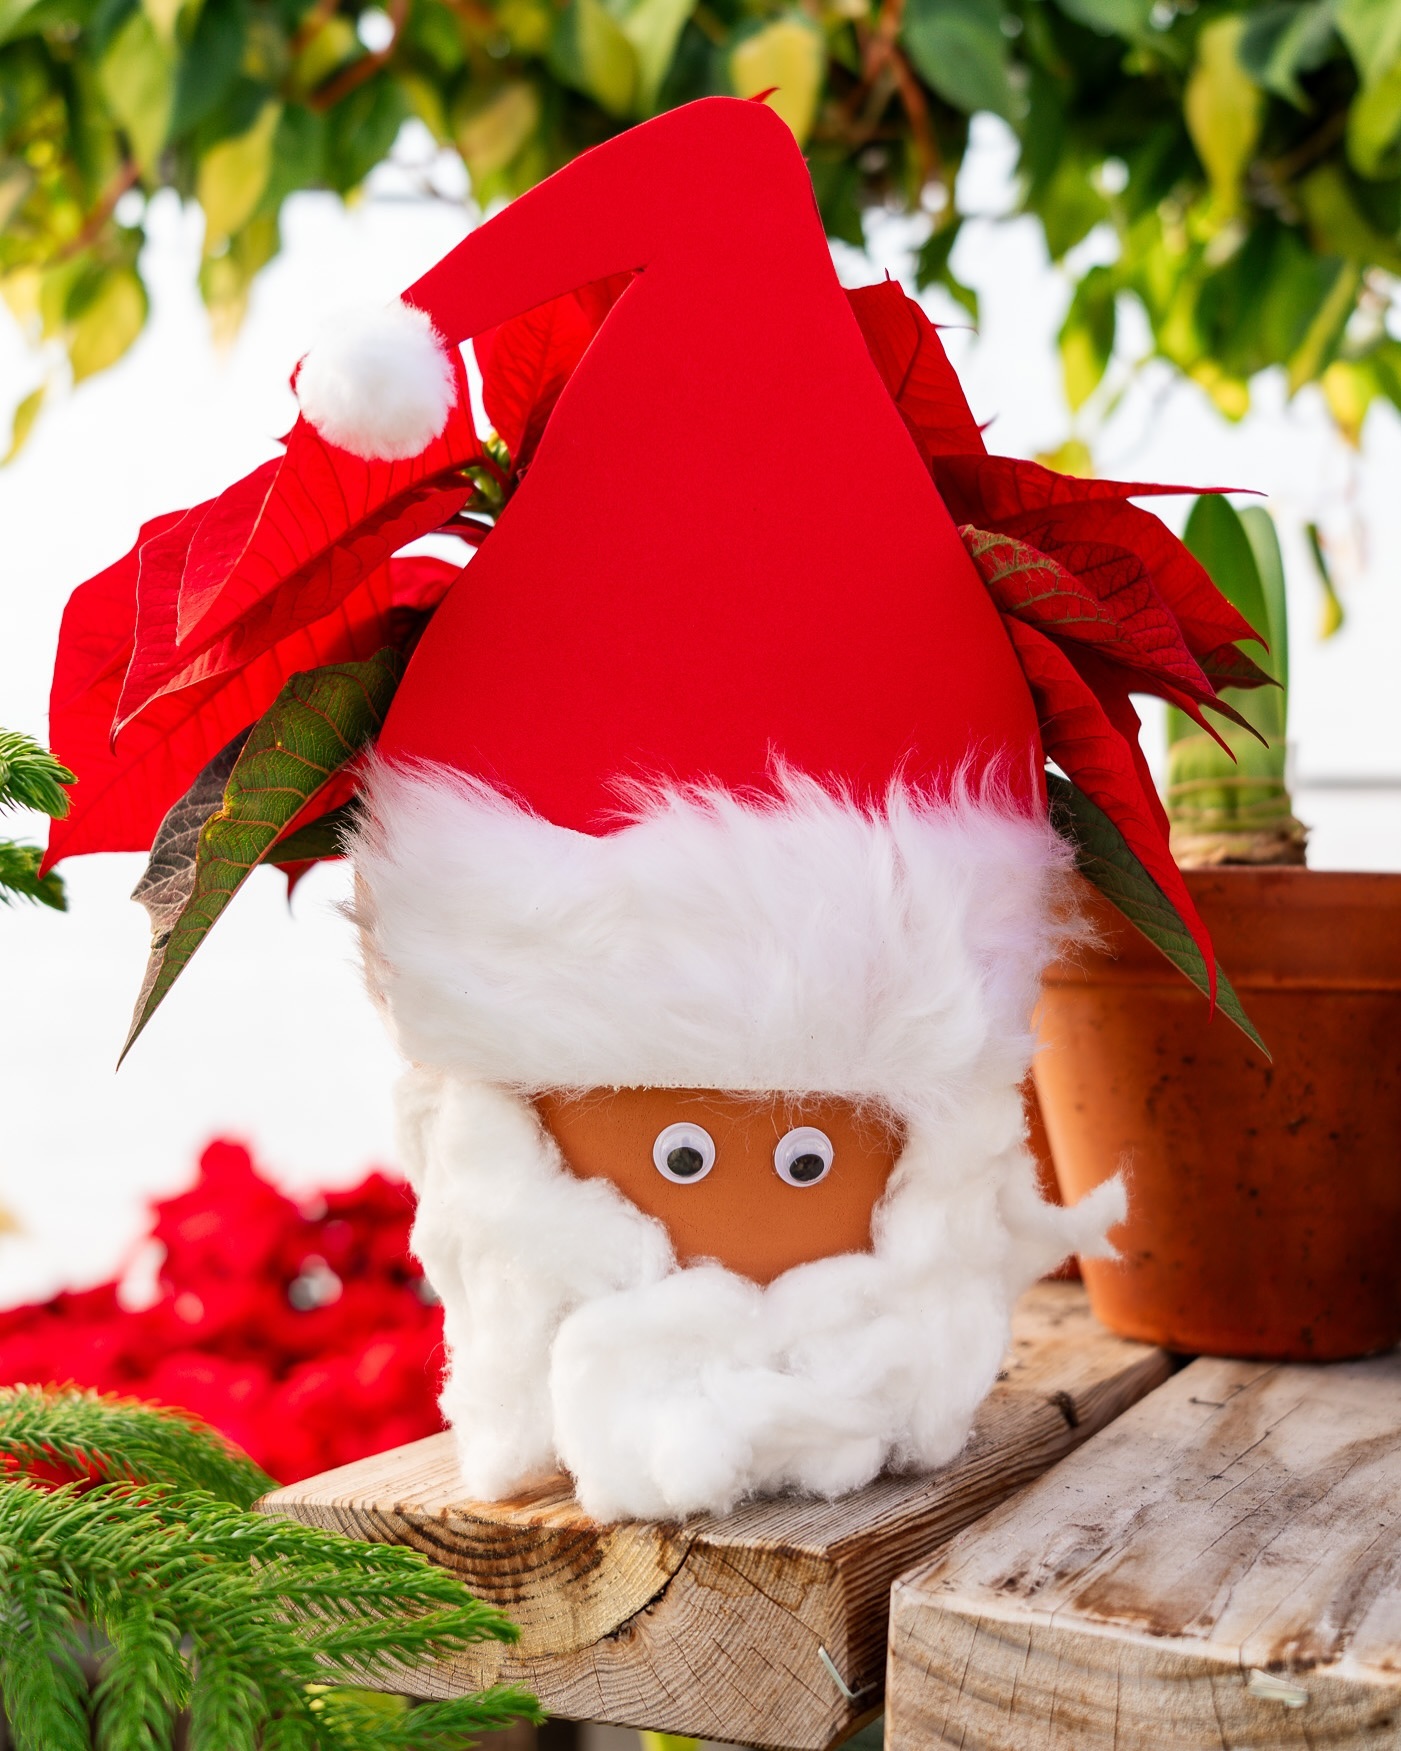
Small terracotta pots can become snowmen, Santa, reindeer, or elves with just paint and basic supplies. For a snowman, paint the pot white, add a face, glue on a fabric scarf, and top with a small pot painted black as a hat. For Santa, paint it red, add a black belt, white trim, and a face. Stack multiple pots for more dimensional figures.
These work as table decorations, can hold candy, or serve as unique planters. The clay material gives them a rustic, handmade look people love.
21. Ribbon Trees Using Foam Cones
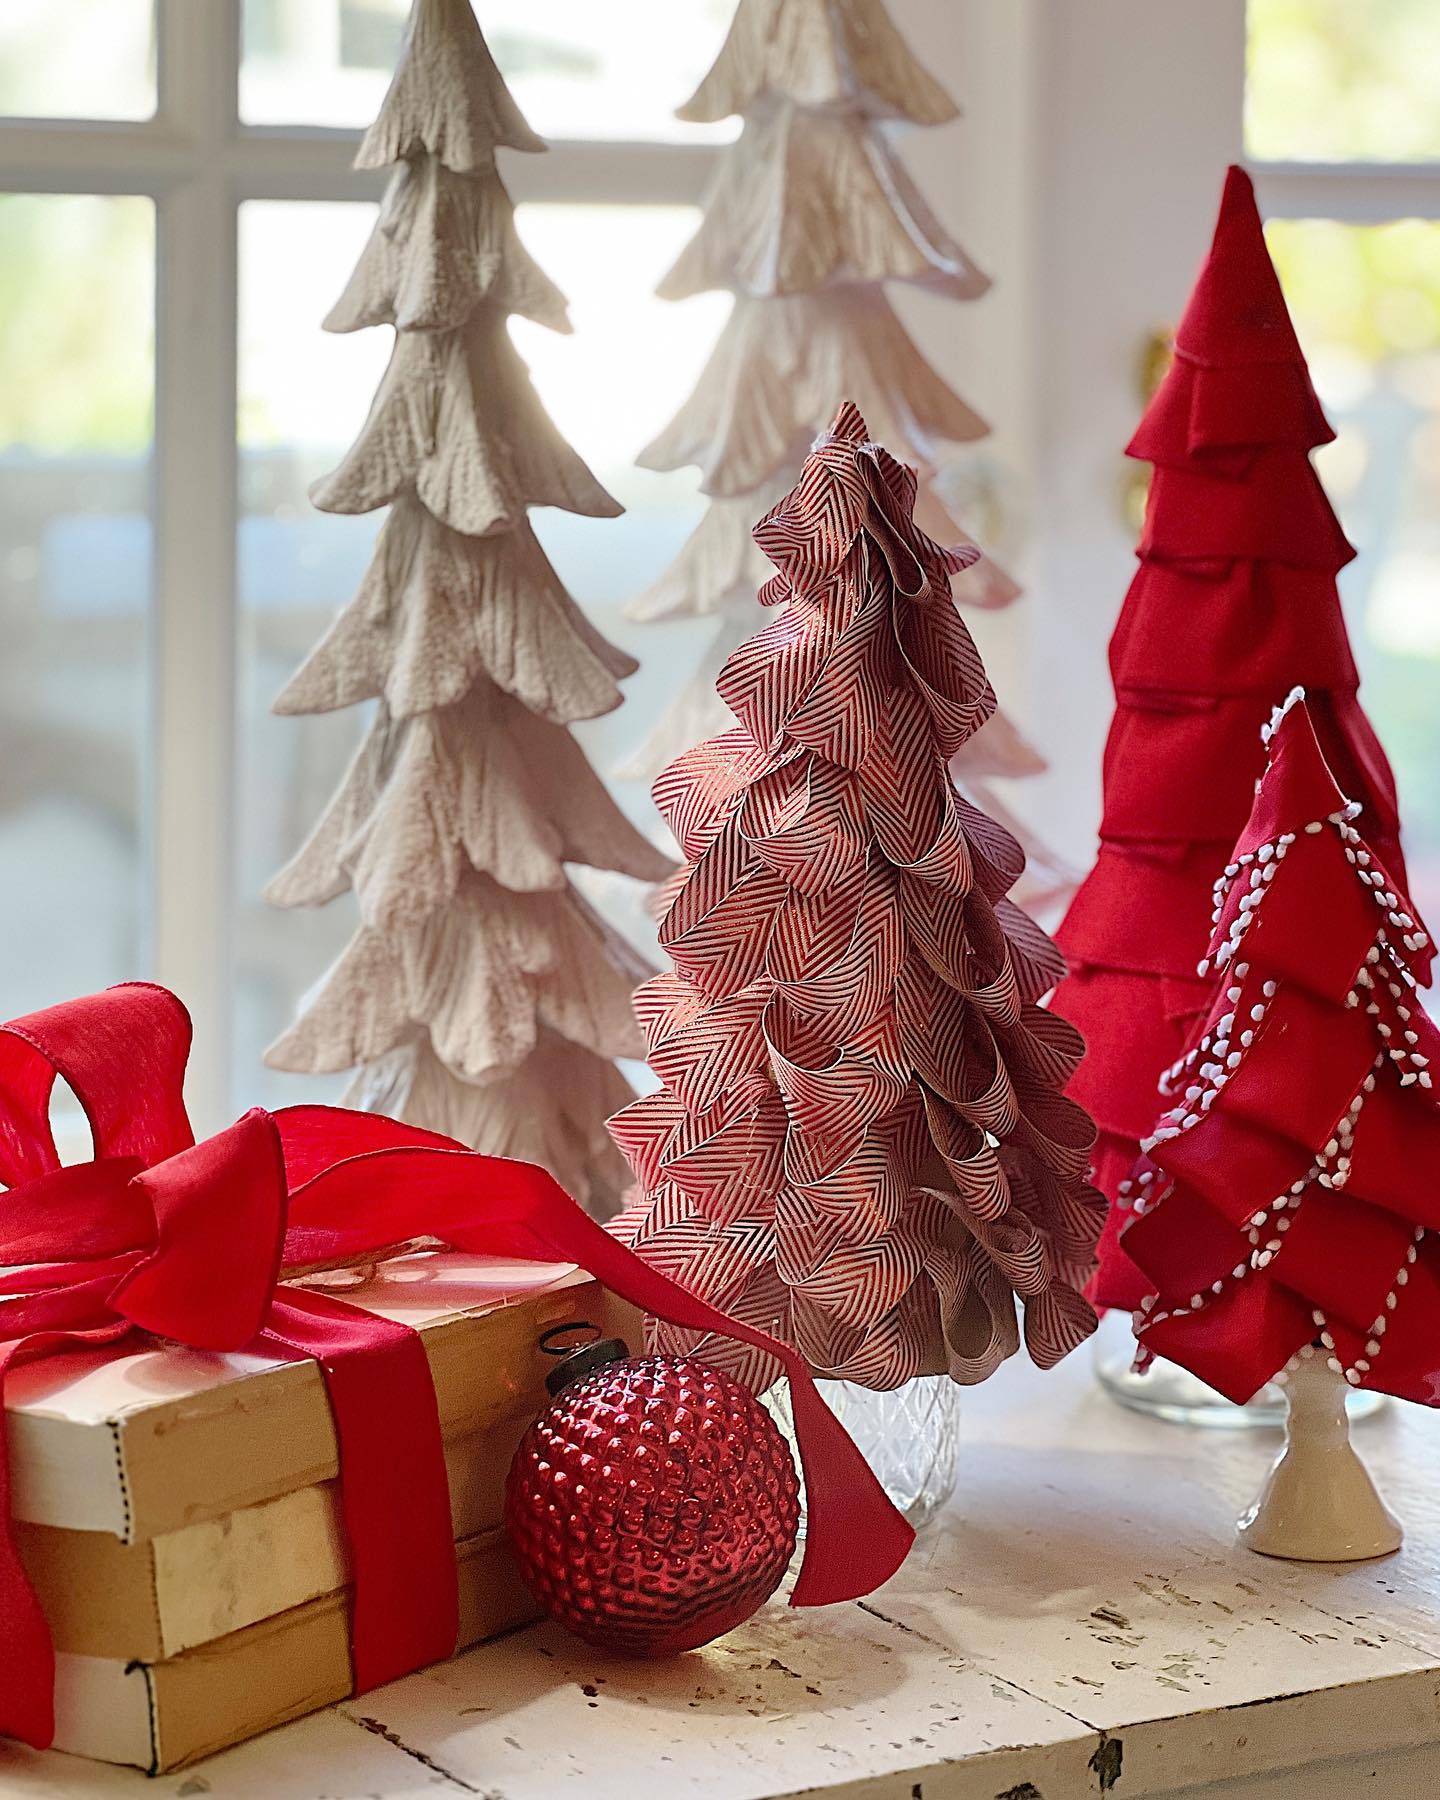
Cover foam cones with ribbon by hot gluing it in a spiral from bottom to top, slightly overlapping each layer. Use wired ribbon for a fuller look or grosgrain for a sleeker finish. Mix multiple ribbon patterns and textures on the same tree for visual interest.
Top with a star, bow, or ornament. Place the finished tree in a small pot or directly on a surface. These fabric trees are soft, colorful, and completely different from traditional trees. Make several in different sizes for a fun forest display.
22. Dollar Store Stocking Holders Decorated and Personalized
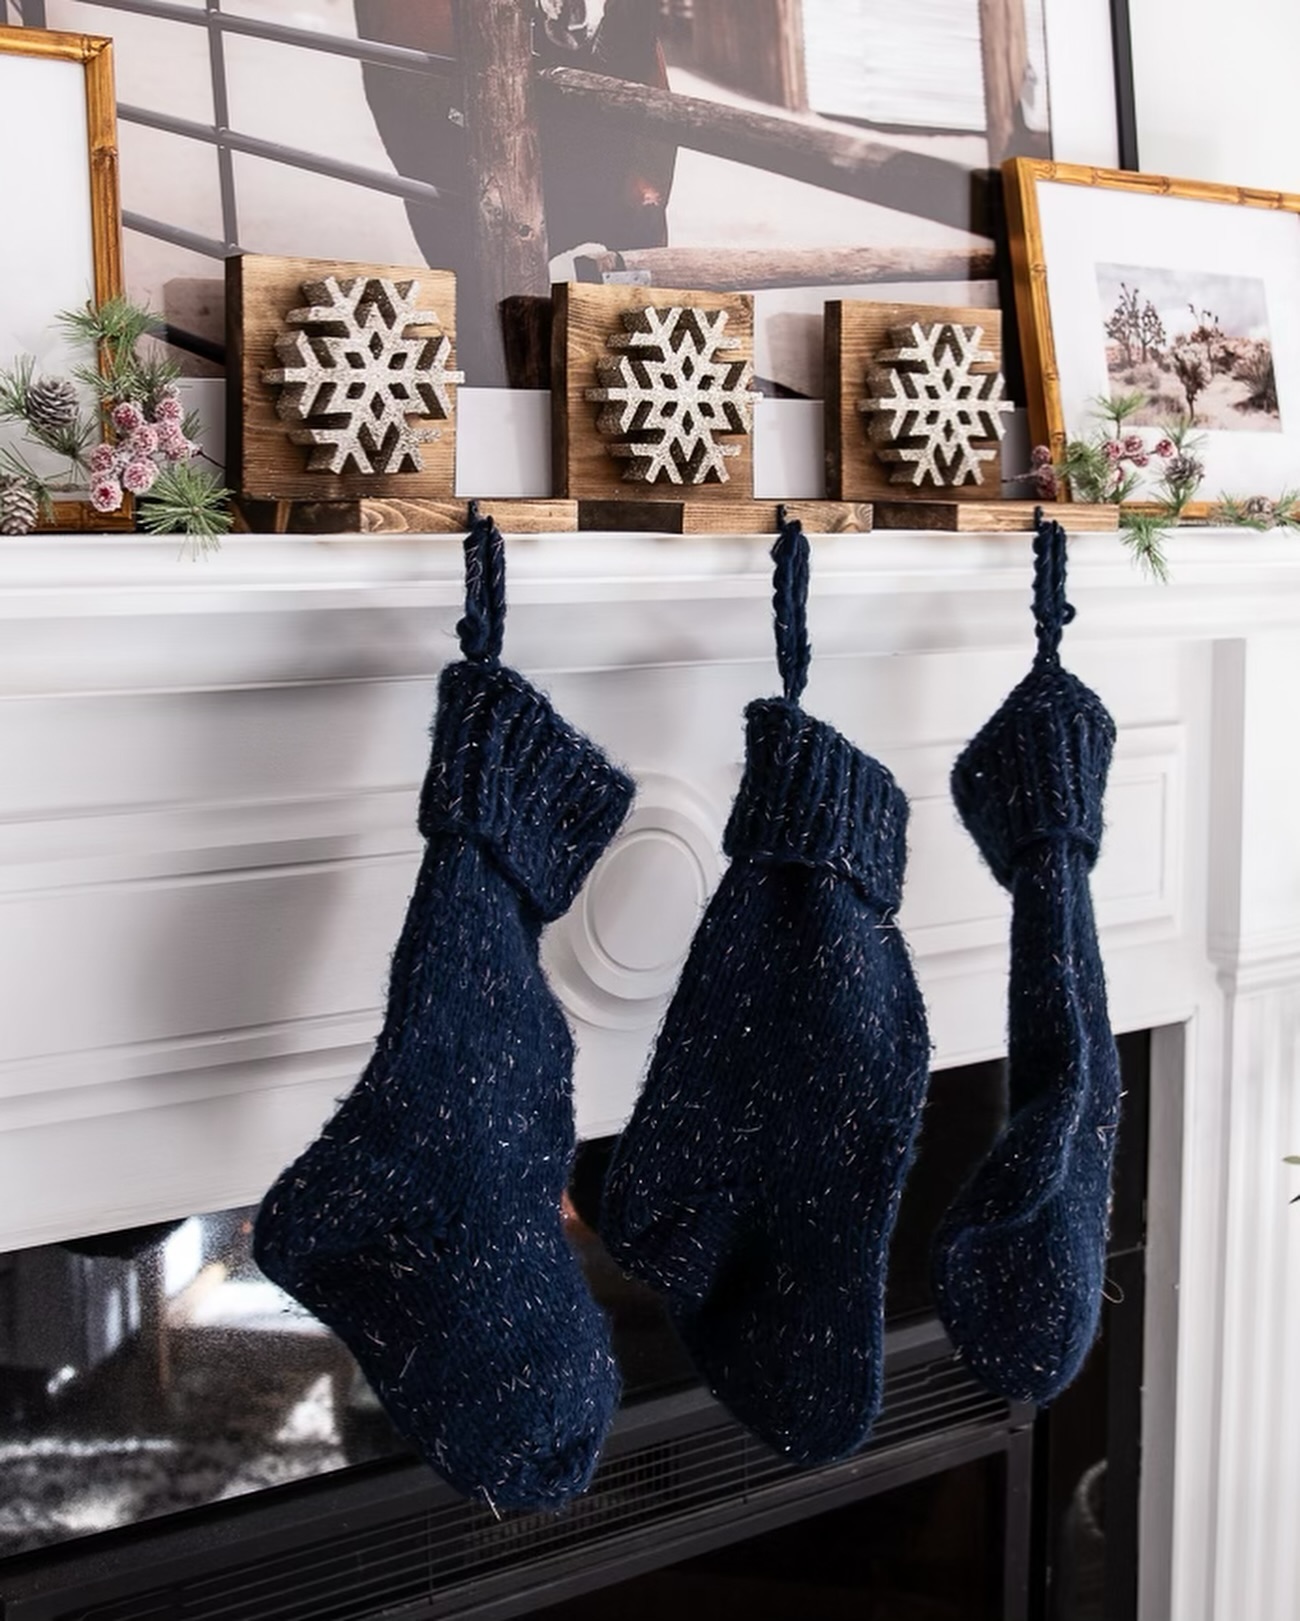
Buy plain stocking holders or heavy candlesticks that can work as holders. Paint or decorate them to match your style—add glitter, wrap with ribbon, or glue on embellishments like snowflakes or bells. Use paint pens to write family members’ names on them.
Hot glue a strong clip or hook to the top if the holder doesn’t already have one. These personalized holders look custom-made and keep your stockings hanging beautifully on the mantel. They’re sturdy enough to hold full stockings all season long.
23. Painted Wine Bottles as Holiday Vases

Clean empty wine bottles and remove the labels. Paint them with acrylic paint in festive colors like red, green, white, or metallic gold and silver. You can paint them solid, add patterns like stripes or polka dots, or create an ombre effect.
Once dry, seal with a clear coat. Use them as vases for fresh or fake greenery, or add battery-operated fairy lights inside for a glowing decoration. Group several painted bottles together for a striking centerpiece that looks professionally designed.
24. Jingle Bell Door Hangers
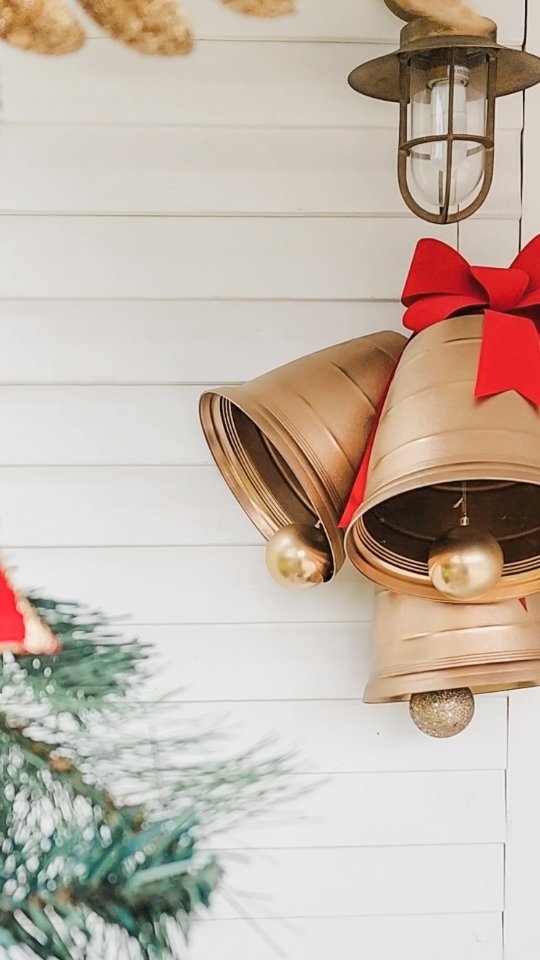
String jingle bells onto thick ribbon, wire, or a embroidery hoop. Mix different sizes of bells for a varied look. Tie a big bow at the top and add greenery, pinecones, or a small sign. Hang it on your front door, interior doors, or from cabinets.
Every time someone opens the door, the bells jingle announcing their arrival with holiday cheer. This is especially fun for kids to make and hear throughout the season. The jingling sound just makes everything feel more festive.
25. Christmas Card Holder Using Ribbon and Clothespins
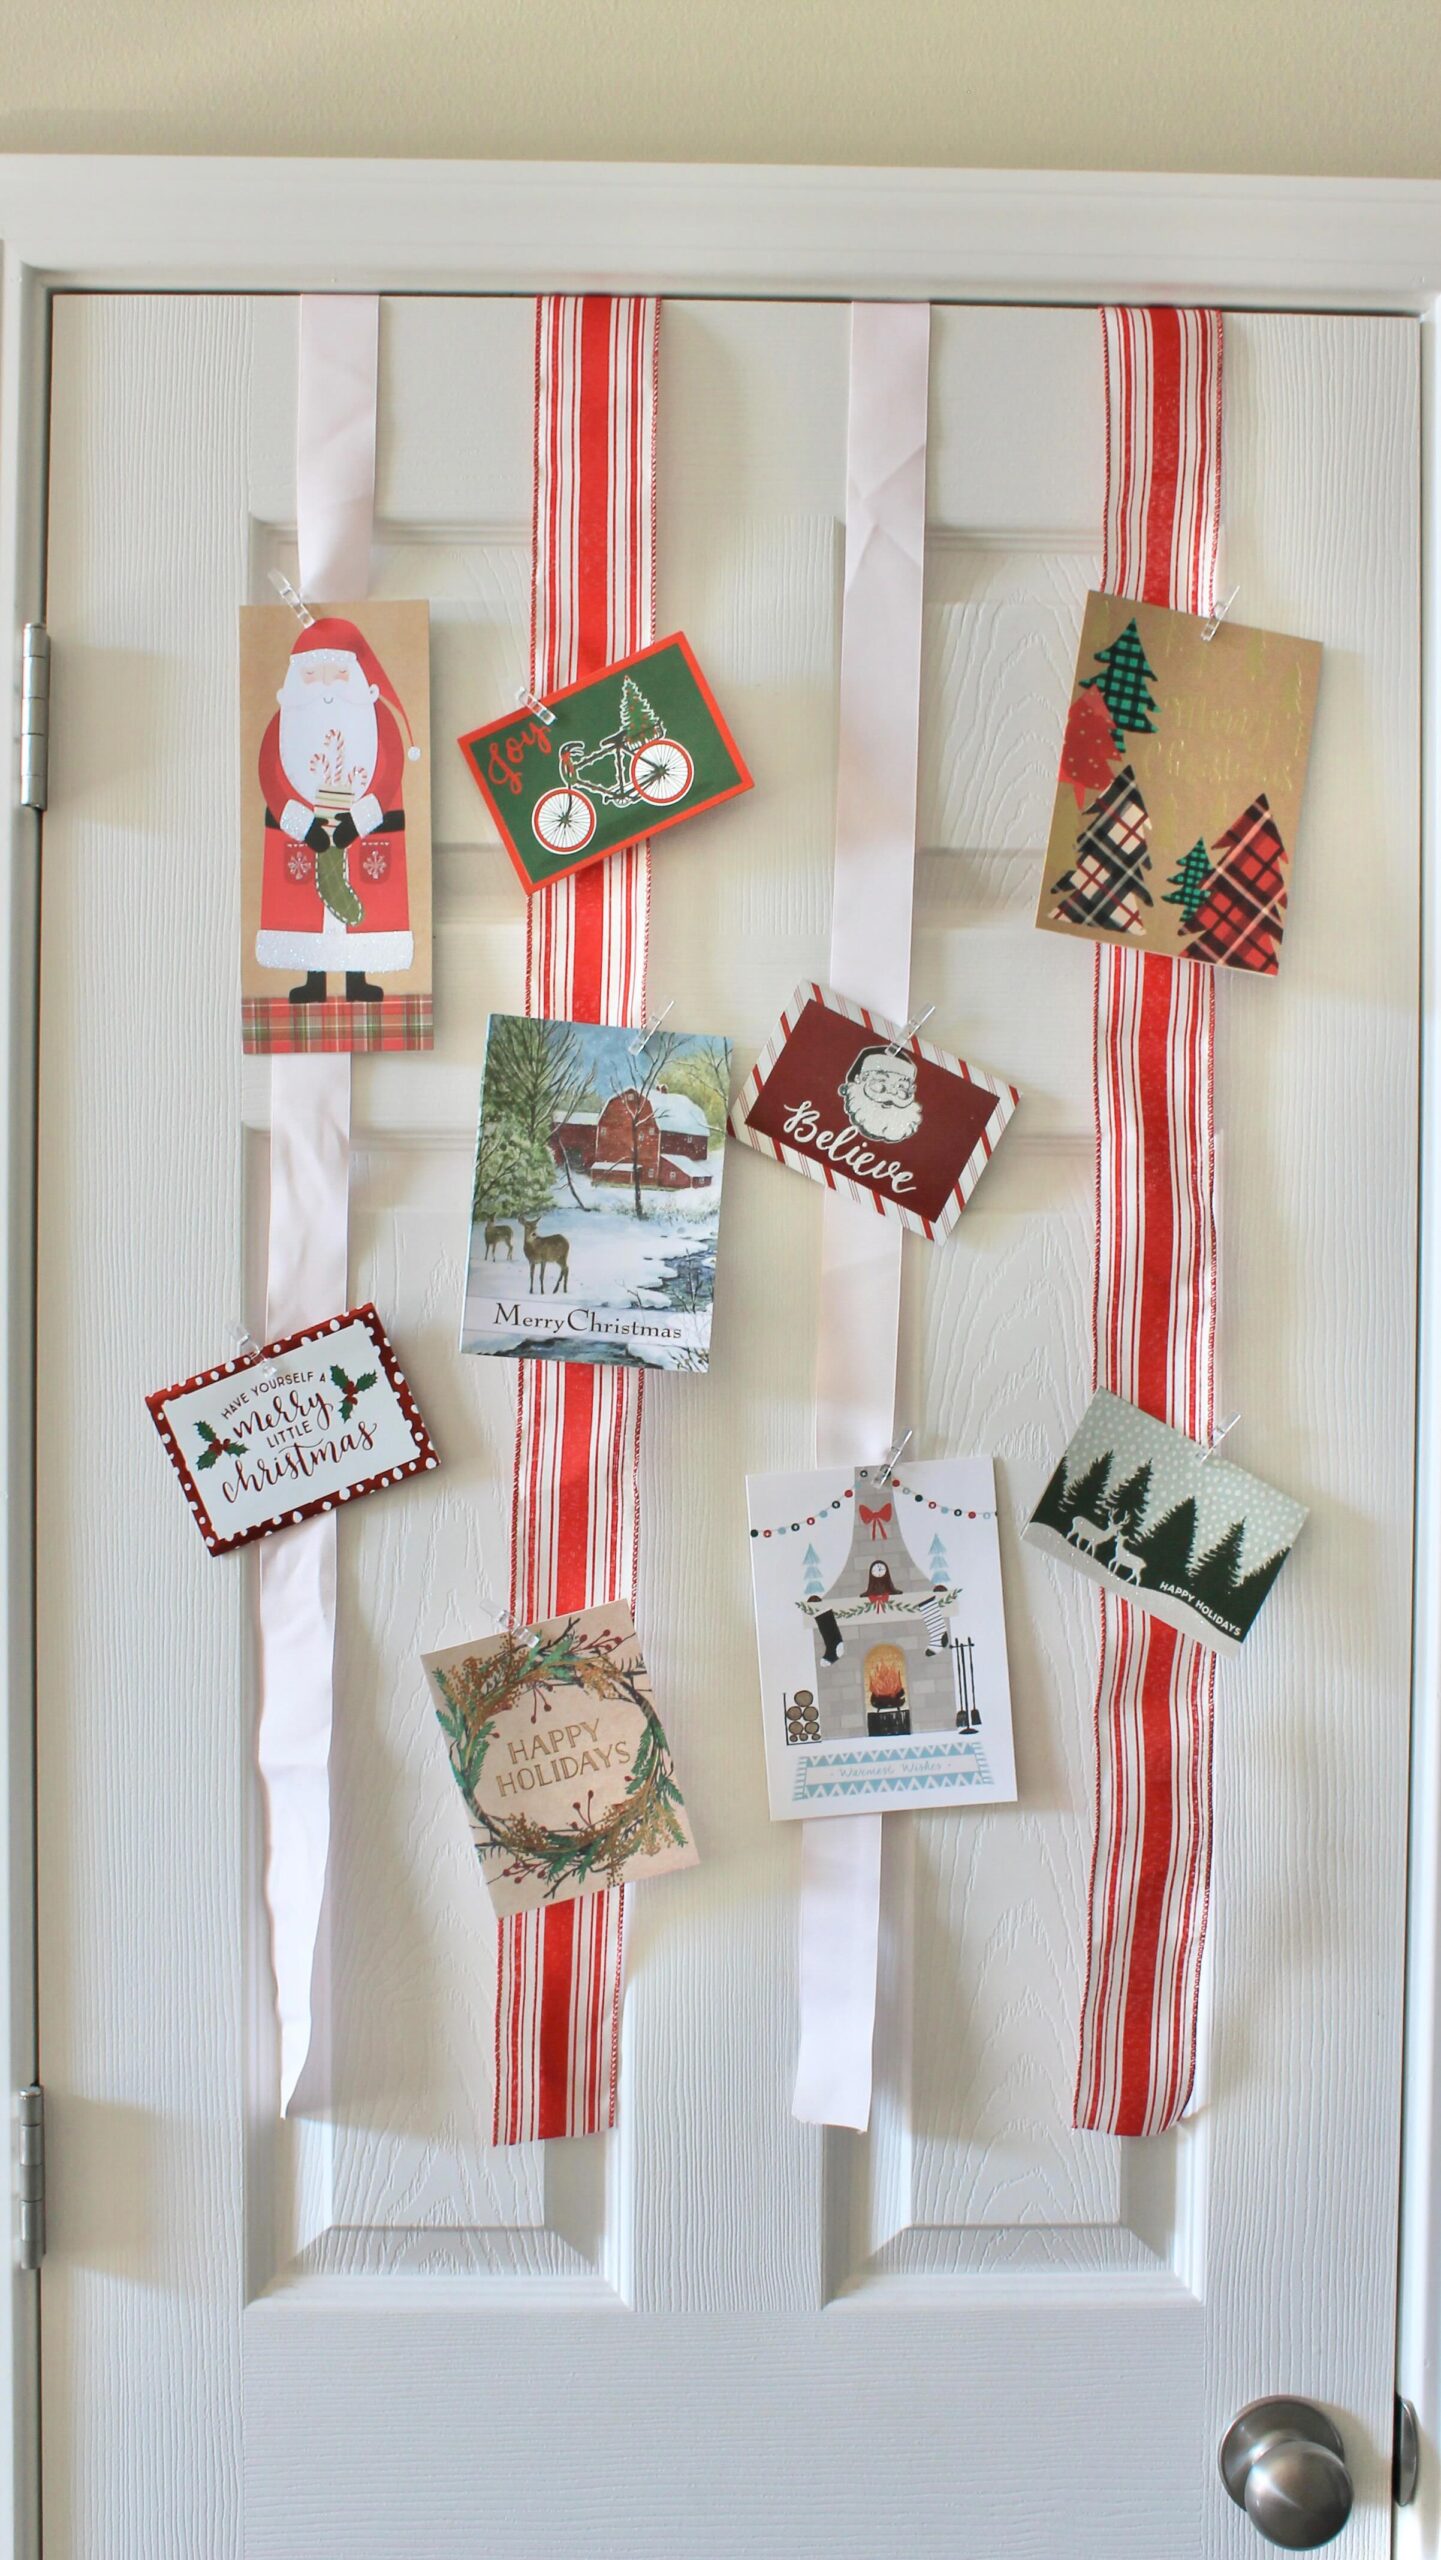
Cut a long piece of wide ribbon and attach small clothespins along its length with hot glue, spacing them evenly. Hang the ribbon vertically on a wall or door using a nail or command hook. As Christmas cards arrive, clip them to the clothespins for display.
You can use multiple ribbons side by side if you receive lots of cards. Decorate the clothespins with paint, washi tape, or small embellishments. This keeps cards visible and appreciated instead of hidden in a drawer.
26. Snowflake Window Clings Made from Hot Glue

Draw snowflake designs on parchment paper with a pencil. Use a hot glue gun to trace over your designs, working quickly while the glue is flowing. Let the glue cool and dry completely. Carefully peel the snowflakes off the parchment paper—they’ll be flexible and slightly sticky.
Press them onto windows or mirrors where they’ll cling on their own. You can paint them with acrylic paint before or after for colored snowflakes. Kids love watching them appear on windows, and they peel off easily after the holidays.
27. Festive Napkin Ring Holders Using Ribbon and Ornaments
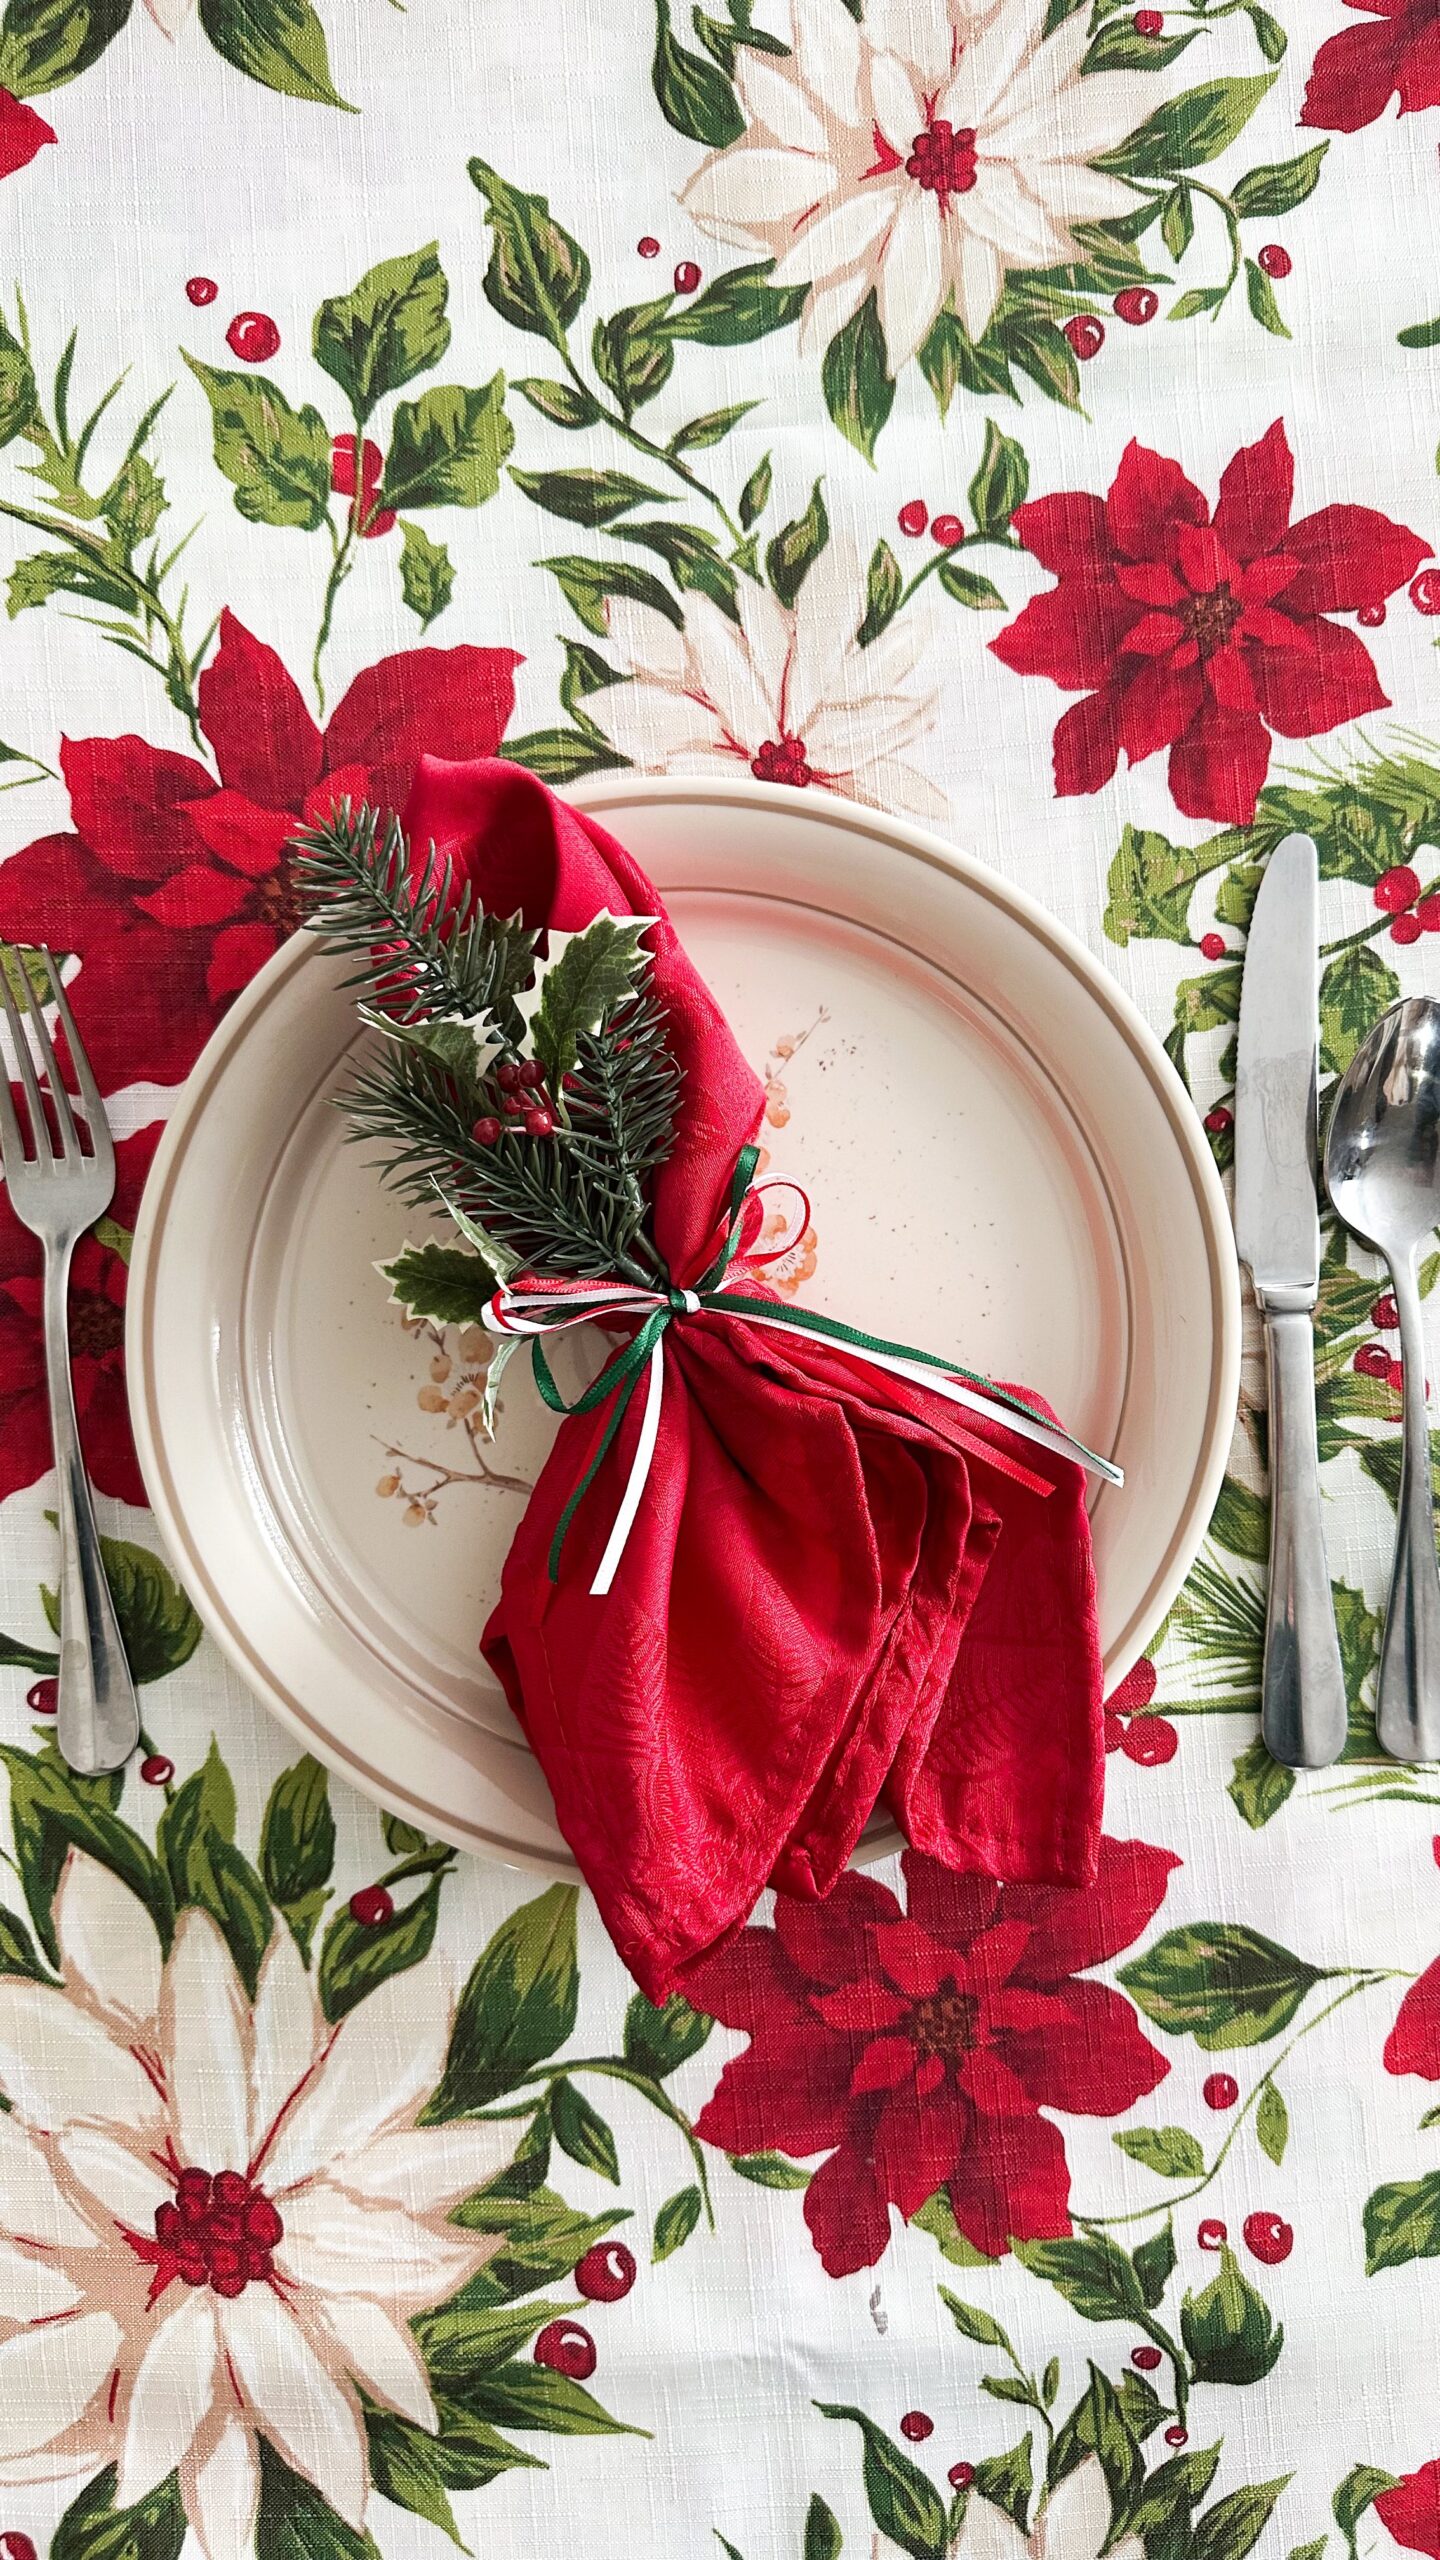
Cut 8-inch pieces of wide ribbon for each napkin ring. Wrap the ribbon around a rolled napkin to measure, then hot glue the ends together to form a ring. Glue a small ornament, jingle bell, or decorative pick to the front of each ring.
You can match your table color scheme or make each place setting unique. These dress up your holiday table instantly and make even simple paper napkins look fancy. Guests can even take their napkin ring home as a small party favor.