25 Christmas Tree Crafts
Getting crafty during the holidays is one of the best ways to get into the festive spirit. Whether you’re looking for fun activities to do with kids, decorations that won’t break the bank, or handmade gifts that come straight from the heart, these Christmas tree crafts have you covered.
From simple popsicle stick designs to elegant beaded creations, there’s something here for every skill level and style. Grab your glue gun, raid your craft drawer, and let’s make some merry little trees that’ll bring joy to your home all season long.
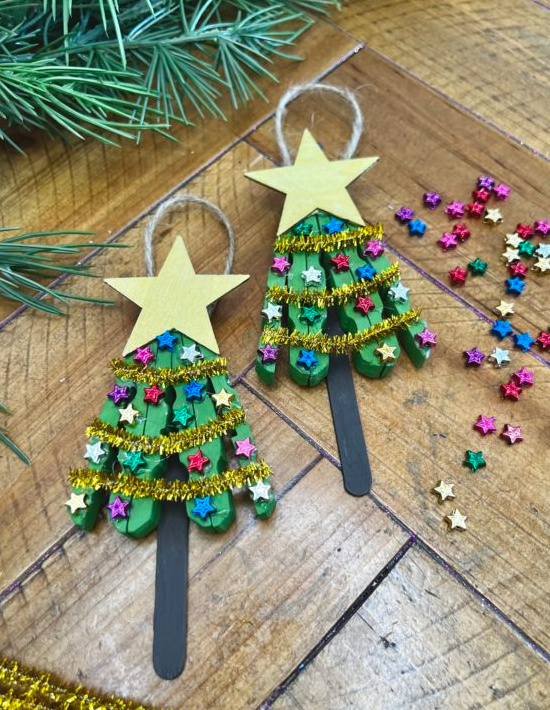
1. Popsicle Stick Christmas Trees
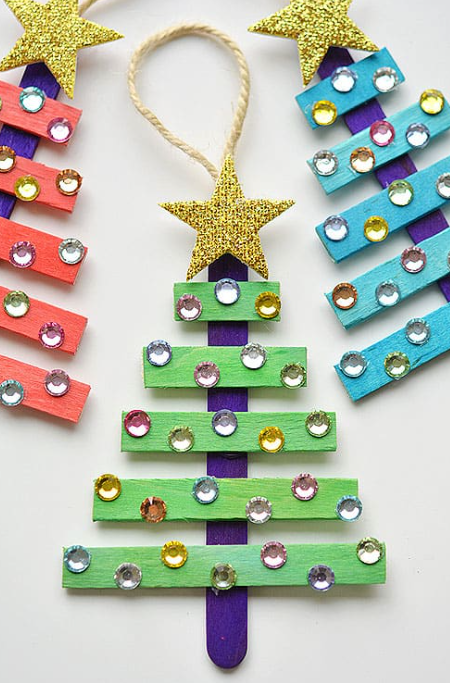
These cute little trees are perfect for kids and beginners. Line up five to seven popsicle sticks side by side, then glue a stick horizontally across the back to hold them together. Cut the edges to create a triangle tree shape. Paint the front green and let it dry completely.
Add small pom-poms, sequins, or tiny buttons as ornaments, and glue a yellow star on top. You can attach a magnet to the back for the fridge or add a ribbon loop to hang it on your tree. The rustic wood grain peeking through the paint gives these a charming homemade feel.
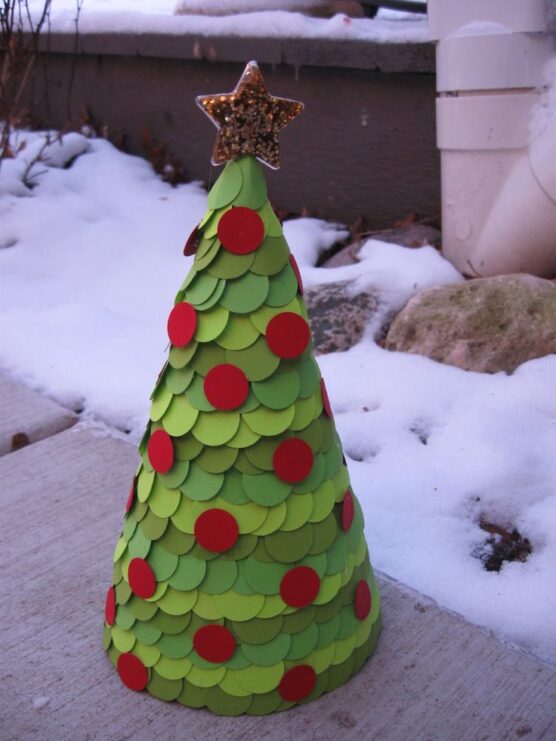
2. Paper Cone Trees with Pom-Pom Decorations
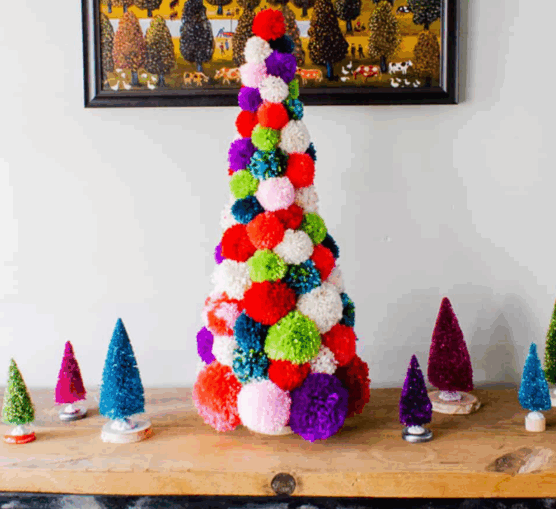
Roll green cardstock or construction paper into a cone shape and secure it with tape or glue. Trim the bottom so it stands evenly on a flat surface. Cover the cone with colorful mini pom-poms using craft glue, starting from the bottom and working your way up in rows. Mix different sizes and colors for a playful, whimsical look.
Add a larger pom-pom or a small star on the very top. These fluffy trees look adorable on mantels or as table centerpieces. The soft, textured surface catches the light beautifully and adds a cozy touch to your holiday decor.
3. Yarn-Wrapped Cardboard Tree Ornaments
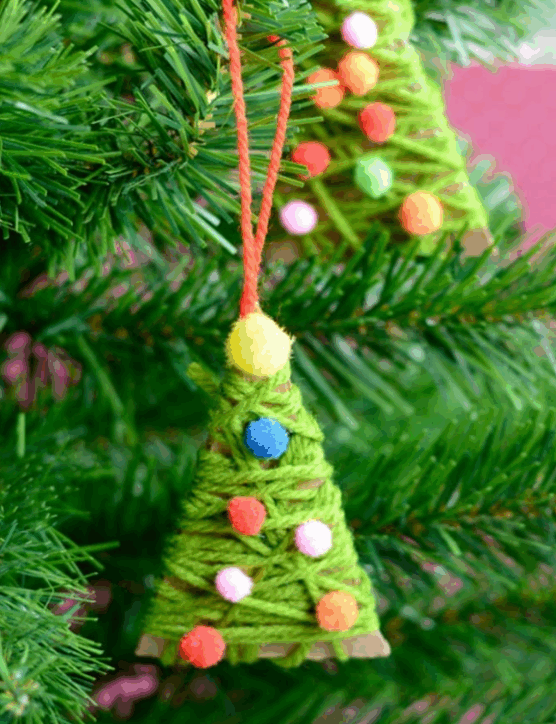
Cut Christmas tree shapes from sturdy cardboard using a template or freehand. Punch a small hole at the top for hanging. Wrap green yarn around the tree shape, starting at the bottom and working up, securing the end with a dab of glue. The yarn should cover the cardboard completely.
Decorate with tiny beads, sequins, or embroidered stars using a needle and thread. You can also glue on small buttons or ribbon scraps. Thread a piece of twine or ribbon through the hole for hanging. These lightweight ornaments have a handmade, folk-art quality that looks especially lovely on a natural or farmhouse-style tree.
4. Pine Cone Tree Arrangement in Basket
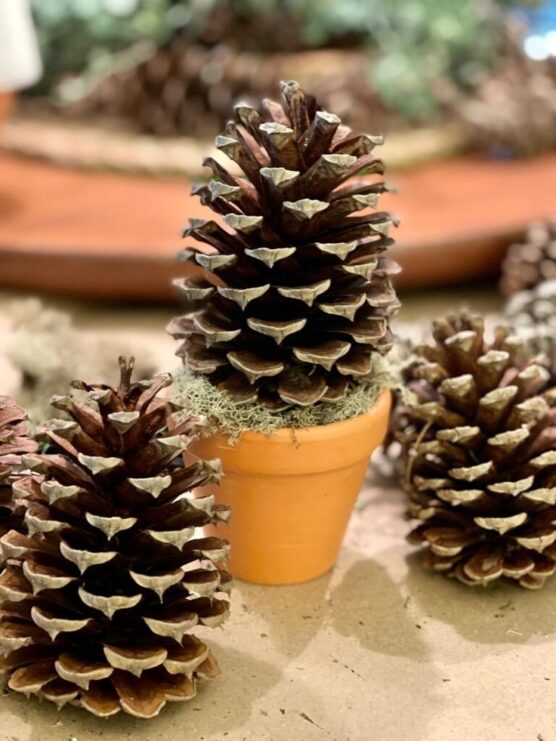
Create a charming woodland centerpiece using individual pine cones arranged in a basket. Choose pine cones that can stand upright on their own, and paint them green with acrylic paint, leaving a few natural brown edges for texture. Once dry, lightly sponge white paint onto the tips to mimic snow.
Decorate each pine cone with tiny beads, sequins, or mini pom-poms as ornaments, securing them with a small dab of glue. Top each with a gold paper star for a festive touch. Arrange the finished “trees” in a shallow wicker basket filled with cotton, moss, or faux snow for a soft, wintry base.
5. Felt Christmas Tree Garland
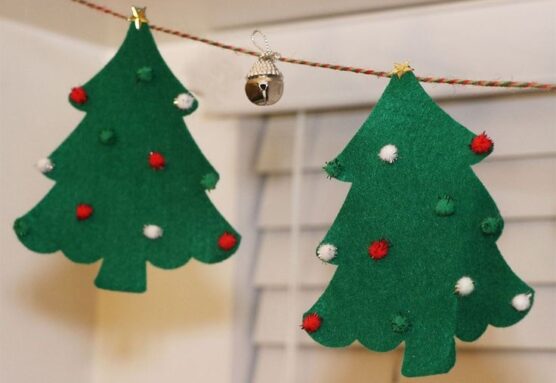
Cut triangle tree shapes from green felt in various sizes. Layer two or three shades of green for visual interest. Decorate each tree with small felt circles, stars, or other shapes in bright colors like red, yellow, and pink. Stitch or glue these decorations onto the trees.
Add a felt trunk at the bottom of each tree in brown. Once all your trees are decorated, use a sewing machine or hand-stitch them onto a long piece of ribbon or twine, spacing them evenly. This soft, colorful garland looks wonderful draped over a fireplace mantel, doorway, or along a staircase railing.
6. Button Christmas Tree Canvas Art
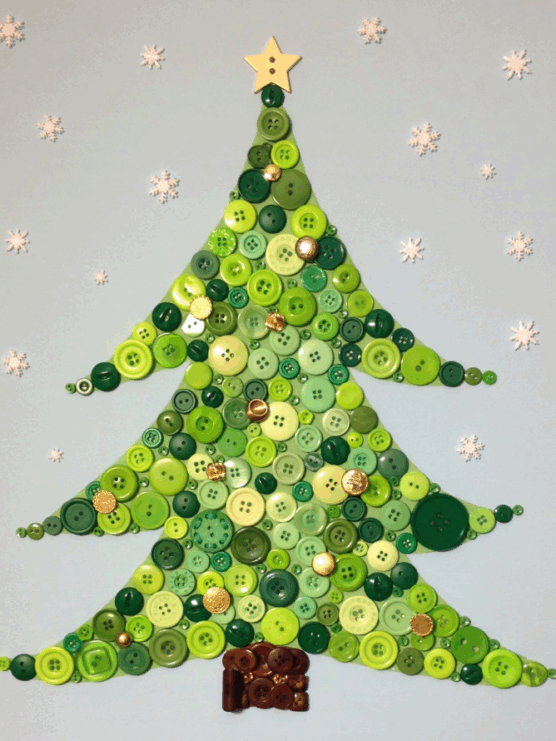
Sketch a simple Christmas tree outline on a small canvas with pencil. Fill in the tree shape by gluing buttons in various shades of green all over it, overlapping them slightly for full coverage. Mix different button sizes for texture and dimension. Add a few red, gold, or silver buttons scattered throughout as ornaments. Use brown buttons or paint a small trunk at the bottom.
Glue a yellow star button at the top. The buttons create a bumpy, eye-catching texture that looks especially charming in a child’s room or displayed on an easel. This project is great for using up mismatched buttons from your sewing kit.
7. Pasta Christmas Tree Ornaments
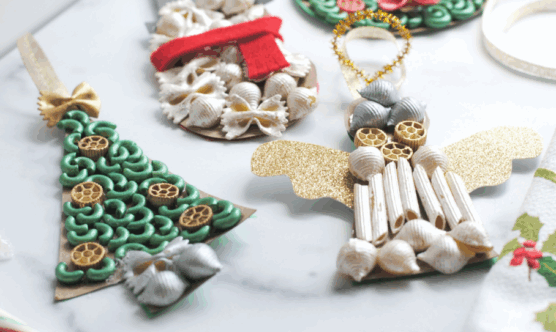
Arrange different pasta shapes like bow ties, wheels, or shells into a tree shape on wax paper. Start with a star-shaped pasta at the top, then layer larger pieces as you work down to create a triangular form. Glue each piece in place carefully. Once completely dry, spray paint the entire creation gold, silver, or green.
Add a ribbon loop at the top for hanging. You can also glue on small rhinestones or glitter while the paint is still tacky for extra sparkle. These delicate ornaments are surprisingly sturdy and have an intricate, lacy appearance that catches the light beautifully on the tree.
8. Toilet Paper Roll Trees
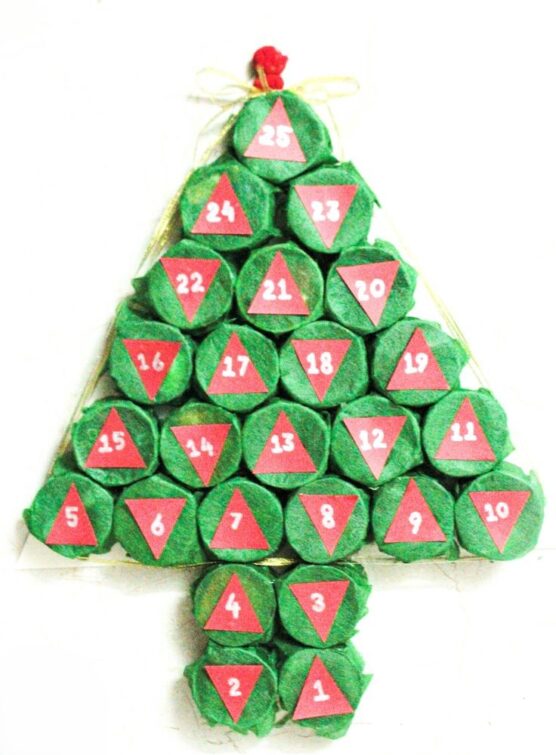
Turn simple toilet paper rolls into a fun and festive advent calendar! Gather 24 empty rolls and paint them green. Once dry, arrange them in a large triangle shape on a sturdy board or piece of cardboard, starting with six rolls at the base, then five, four, three, two, and one at the top to form a tree. Fill each roll with a small treat, note, or trinket, then cover the front with numbered paper circles (1–24).
You can use gold or red paper for a festive touch. Add a star cutout at the top and decorate the “tree” with mini bows, stickers, or fairy lights around the edges.This advent calendar is not only eco-friendly but also doubles as a cheerful holiday display. Kids will love opening one roll each day to reveal a surprise as Christmas approaches!
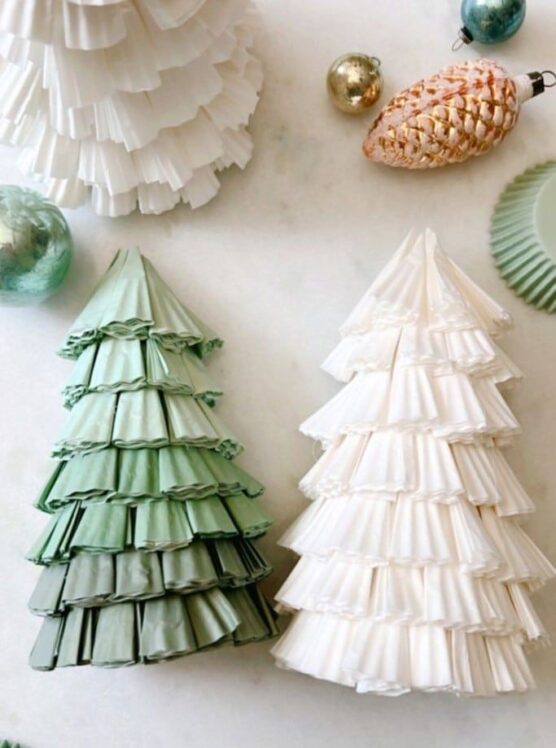
9. Coffee Filter Christmas Trees

Flatten coffee filters and cut them into progressively smaller circles. Fold each circle in half, then in half again to create quarters. Cut fringe along the curved edge, leaving the center intact. Unfold each filter so it looks ruffled and fluffy. Stack them on a wooden dowel or pencil, starting with the largest at the bottom. Secure each layer with glue.
Once stacked in a cone shape, spray or brush them with diluted green food coloring or watercolor. The filters absorb the color beautifully and create a soft, feathery texture. Add tiny beads or glitter for ornaments while the filters are still slightly damp.
10. Ribbon Tree Layered in Ombre Green Shades
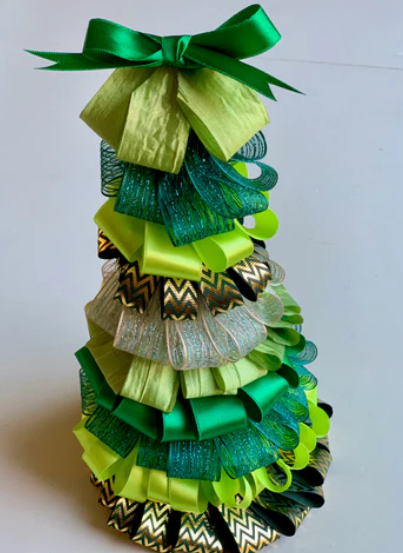
Use festive patterns like plaid, polka dots, or metallic stripes. Arrange them vertically on a piece of twine or thin dowel, spacing them to form a tree shape. Secure each ribbon by tying, gluing, or stapling it in place. Layering ribbons from light to dark green creates this gorgeous flowing effect that’s so sophisticated.
The different shades blend beautifully together, and the ribbon texture adds movement and softness. It feels formal enough for elegant holiday entertaining but cheerful enough for everyday enjoyment. The way the ribbons catch and reflect light is absolutely beautiful.
11. Paper Plate Christmas Trees

Start by painting the entire plate green and let it dry completely. Once dry, cut the plate into a continuous spiral shape, starting from the outer edge and winding toward the center. When you lift it, the spiral will naturally form a curly, tree-like shape. Decorate the spiral with colorful pom-poms, sequins, stickers, or glitter glue to resemble ornaments.
Cut a small brown paper rectangle for the trunk and glue it to the center underside of the plate. Finally, top your tree with a paper or foam star. Hang the spiral tree from the ceiling, window, or mantel its gentle swirl adds fun movement and dimension. This easy craft is perfect for kids and brings a playful, festive touch to any room.
12. Burlap Tree Cut and Stuffed for Texture
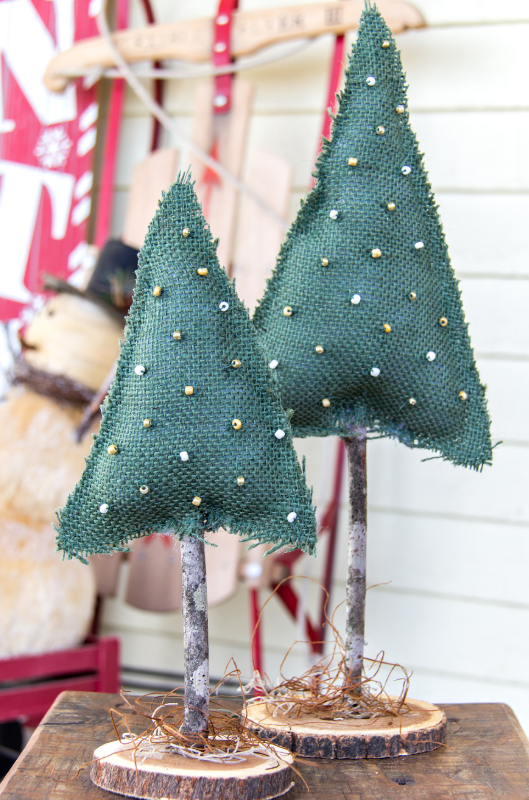
Create charming rustic trees using only burlap and stuffing. Cut two identical tree shapes from burlap fabric, then stitch or hot glue the edges together, leaving a small opening at the bottom. Lightly fill the inside with cotton or polyester stuffing to give it soft volume and dimension. Seal the opening once stuffed.
Add decorative touches like lace trim, jute bows, or tiny wooden buttons to enhance the farmhouse look. You can also tuck in sprigs of dried lavender, pine, or cinnamon sticks for a cozy, natural feel. These freestanding burlap trees bring warm texture and an earthy, handmade charm to mantels, shelves, or table centerpieces—perfect for rustic or vintage-inspired holiday décor.
13. Handprint Christmas Tree Cards
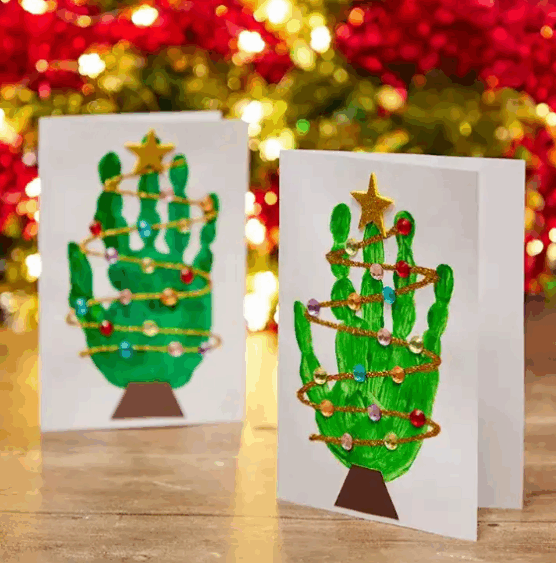
Trace or stamp your child’s handprint in green paint or ink on cardstock, with fingers pointing up. This becomes the tree shape. Let it dry, then decorate the finger branches with small dots of paint in bright colors for ornaments. Add a yellow star above the hand and a brown rectangle trunk below the palm. Write a holiday message inside the card.
These cards are precious keepsakes that grandparents especially treasure. You can make several cards at once during a crafting session. The personal touch of a child’s actual handprint makes these cards incredibly meaningful, and it’s sweet to see how the handprints grow from year to year.
14. Pallet Wood Christmas Trees

Cut strips of pallet wood in graduating lengths. Sand them smooth to remove any rough edges or splinters. Arrange the pieces horizontally from longest to shortest to form a tree shape. Attach them to two vertical backing pieces with nails or wood glue. Leave the wood natural for a rustic look, or paint it white, green, or any color you like.
Add wooden star cutouts, stenciled designs, or small hooks for hanging ornaments. These larger pieces work beautifully as porch decorations or indoor focal points. The weathered wood grain and gaps between boards give them a charming, cottage-style appearance that’s very popular right now.
15. Wine Cork Christmas Tree Decorations
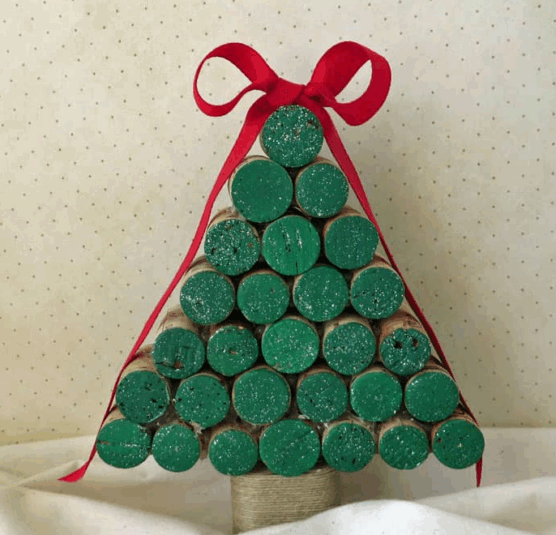
Collect wine corks and glue them together in a pyramid shape, starting with a base of four or five corks. Layer additional rows on top, decreasing the number in each row until you end with a single cork at the peak. Paint the entire structure green once the glue is dry.
Dot on colorful ornaments with paint or glue on tiny beads. Add a small gold star on top. You can also leave the corks natural and just add decorations for a more neutral look. These have great texture from the cork material and work wonderfully as small table decorations or grouped together as a centerpiece.
16. Paper Cone Tree Covered in Decorative Paper
These paper trees have such elegant simplicity and can look totally different depending on the paper you choose. Whether you go with vintage sheet music, beautiful scrapbook paper, or even newspaper, each one tells its own story.
The cone shape gives you that classic Christmas tree silhouette, and the paper patterns add so much visual interest. They feel crafty but sophisticated at the same time.
17. Clothespin Christmas Tree Ornaments
Arrange wooden clothespins in a circle with the pinching ends facing inward. Glue them together to form a star or snowflake shape. This becomes one layer of your tree. Make several layers in decreasing sizes. Stack and glue them together with the largest at the bottom. Paint the entire structure green or leave the wood natural.
Clip tiny ornaments, bells, or ribbon bows to the clothespins. Add a ribbon loop at the top for hanging. The spaces between the clothespins create an open, airy design that’s quite elegant. You can also clip on small photos or holiday messages for a personalized touch.
18. Cupcake Liner Trees
Flatten cupcake liners in green or white. Cut them in half. Stack the half-circles on top of each other on a piece of cardstock, overlapping them slightly to form a tree shape with layers. Start with larger halves at the bottom and use smaller ones as you work up. Glue each layer down. The ruffled edges create a textured, fluffy appearance. Add small rhinestones, sequins, or drawn ornaments for decoration.
Top with a star cutout. Use foil cupcake liners for a shimmery effect. These work beautifully on homemade greeting cards or as part of a larger craft project. The layered, dimensional look is surprisingly sophisticated.
19. Book Page Christmas Trees
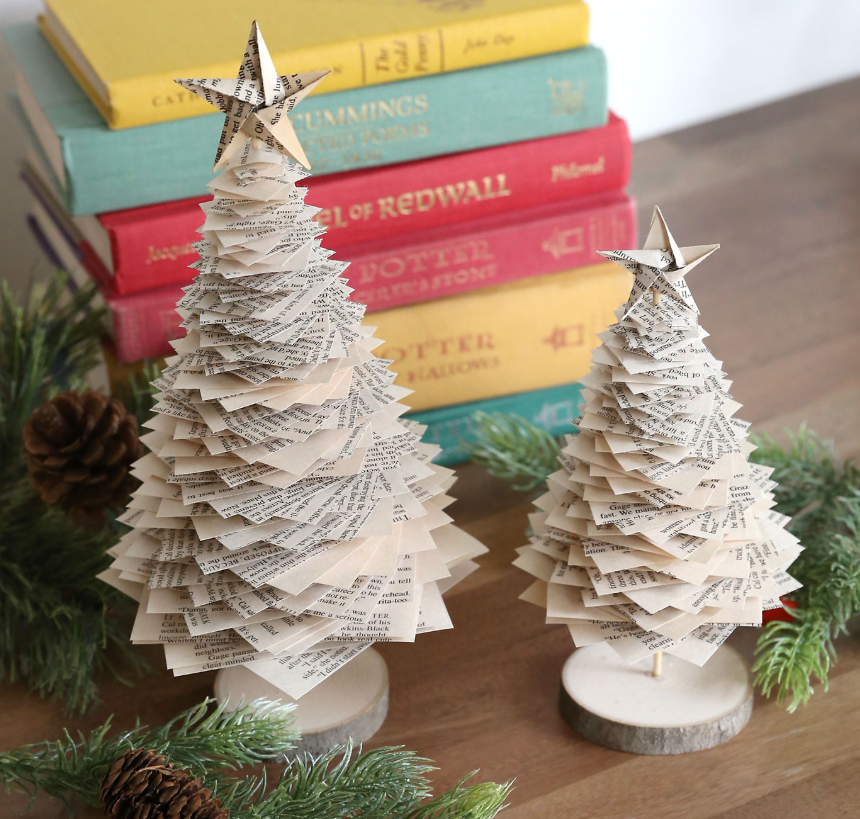
Cut or carefully remove pages from an old book you no longer need. Fold each page in half lengthwise, then fold the corners down to meet at the center crease, creating a triangle shape. Stack these folded pages together, gluing them to form a thick, layered tree.
The text and aged paper give it a vintage, literary feel. You can leave the pages as-is for a shabby chic look or lightly spray with gold paint for sparkle. Add small red berries or a red ribbon bow for a pop of color. These trees are perfect for book lovers and add an intellectual, cozy touch to your holiday decor.
20. Cardboard Tree Cut and Painted
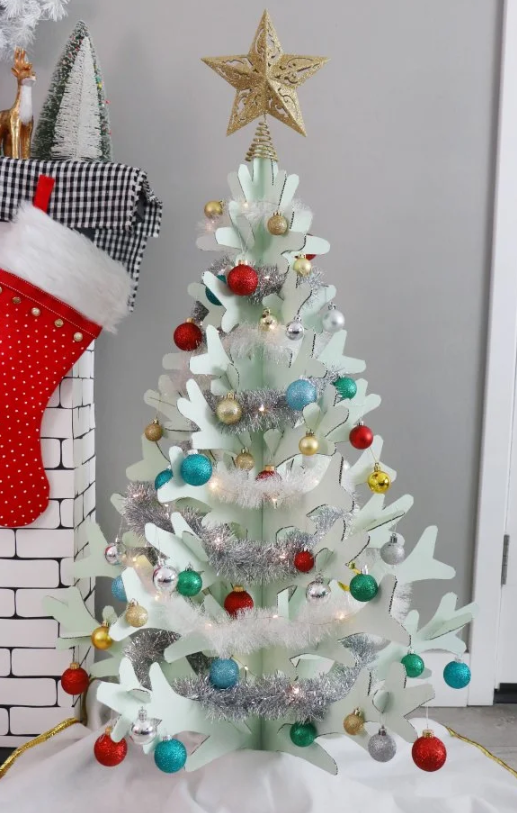
Create a simple yet charming tree decoration using cardboard. Cut out two identical tree shapes from sturdy cardboard, then make a vertical slit halfway down the center of one piece and halfway up the other. Slide them together to form a standing 3D tree. Paint the tree in festive colors, classic green, white, or even metallic gold for a modern touch.
You can also use acrylic paint mixed with a bit of glitter for added sparkle. Once dry, decorate with mini pom-poms, buttons, or painted dots to mimic ornaments. These lightweight trees are perfect for mantels, desks, or windowsills, and their handmade look adds a cozy, creative touch to your holiday décor.
21. Paper Roll 3D Christmas Trees
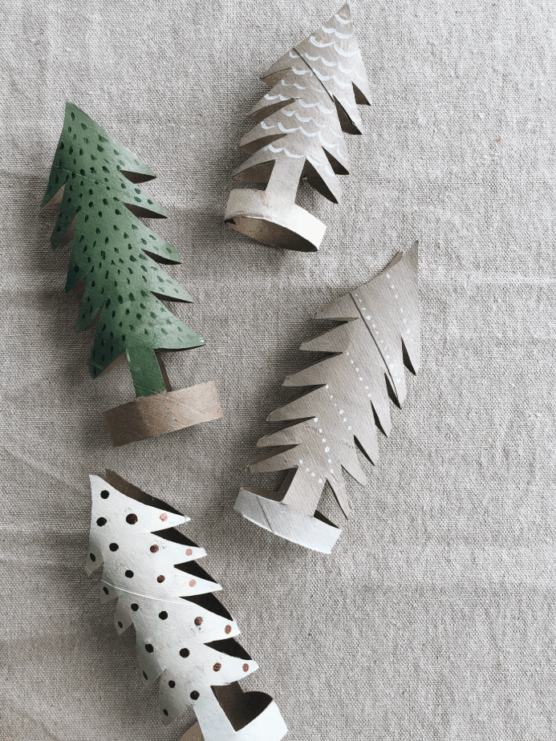
Cut slits lengthwise in a toilet paper or paper towel roll, stopping about an inch from one end. Cut multiple slits around the entire circumference. Paint the roll green. Once dry, gently bend each strip outward and down to create branches. The uncut end becomes the trunk. Decorate the branches with small stickers, painted dots, or glued-on sequins.
These trees are free-standing and have a fun, sculptural quality. The curled branches give them movement and dimension. Kids enjoy experimenting with how far to bend the branches. You can make a whole forest of different sizes using various paper roll lengths.
22. Salt Dough Christmas Tree Ornaments
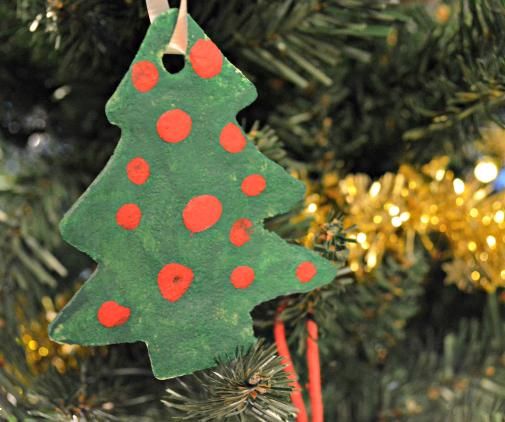
Mix two cups flour, one cup salt, and one cup water to make salt dough. Roll it out and cut tree shapes with a cookie cutter. Use a straw to punch a hole at the top for hanging. Press beads, sequins, or small objects into the dough for decoration before it dries. Let the ornaments air dry completely for a few days or bake at low temperature. Once hardened, paint them green and add details with markers or paint pens.
Seal with clear varnish if desired. These homemade ornaments are sturdy and long-lasting. They have a lovely handcrafted, heirloom quality that makes them perfect for gift-giving or treasuring year after year.
23. Fabric Scrap Trees
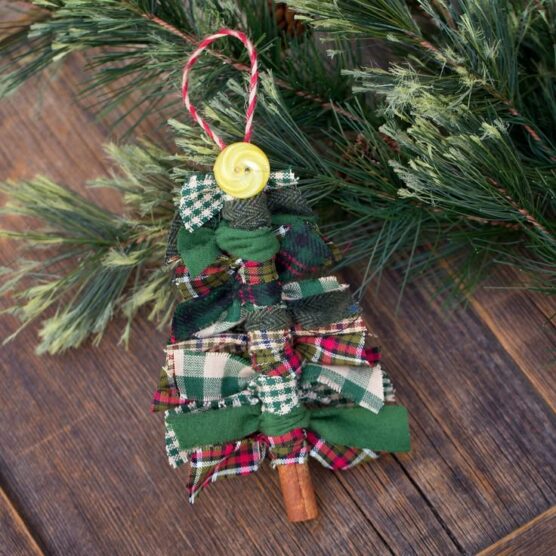
Cut triangle tree shapes from sturdy cardboard. Cut strips or patches from fabric scraps in various holiday patterns and colors. Glue the fabric pieces onto the cardboard in a collage style, overlapping them until the entire surface is covered. Trim any excess fabric from the edges. Add ribbon trim, buttons, or embroidered details for ornaments. Glue a ribbon loop to the back for hanging.
These soft, quilted-looking trees have a cozy, homespun feel. They’re an excellent way to use up leftover fabric from other sewing projects. Each tree is unique depending on which fabrics you choose, making them great conversation pieces.
24. Egg Carton Christmas Trees
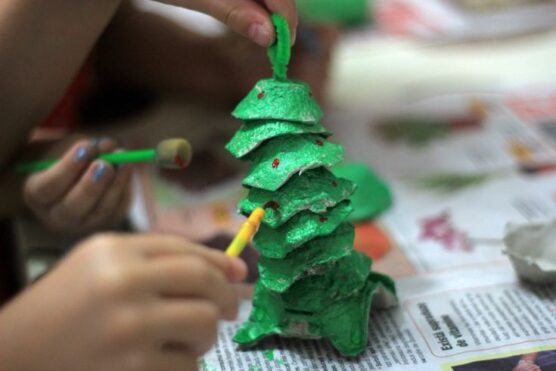
Cut individual cups from cardboard egg cartons. Trim the edges to create petal-like points. Paint each cup green. Stack several cups inside each other, with the largest at the bottom, gluing them together as you go to form a tiered tree shape. The pointed edges create a layered, flower-like effect. Add small beads or painted dots for ornaments on each tier.
Top with a small star. Paint the entire tree or leave some of the cardboard showing for a rustic look. These recycled material trees are surprisingly charming and teach kids about reusing materials. They’re also quite sturdy once the glue dries.
25. Beaded Wire Christmas Trees
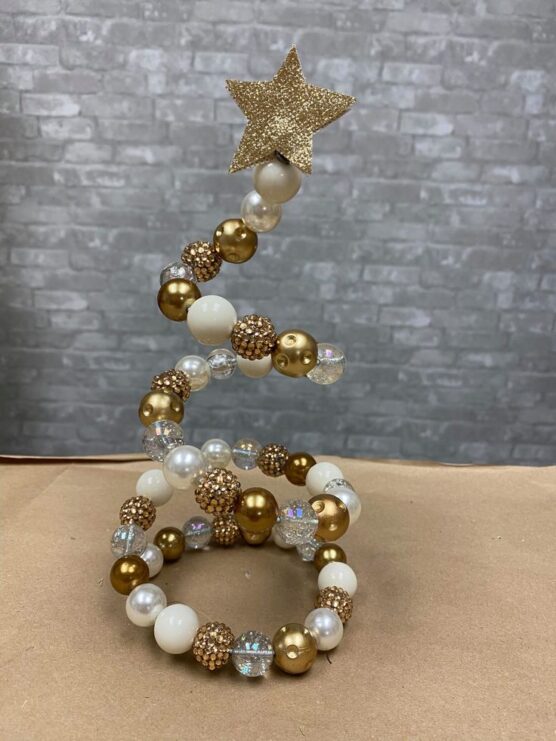
Cut a length of craft wire and string various beads onto it, mixing sizes and colors. Start at one end and form a small loop for the tree top, twisting the wire to secure it. Continue wrapping the beaded wire in a spiral, gradually increasing the circle size as you work down to create a cone shape. The beads should sit close together. Finish by creating a base with extra wire twisted into a stand.
These delicate, sparkly trees catch and reflect light beautifully. The wire structure allows you to adjust the shape slightly after assembly. They work wonderfully as mini decorations on desks, shelves, or as package toppers for special gifts.